3 Monitor Gaming Setup Guide: Parts, Mounts and Settings
3 monitor gaming setup: Match screens, check GPU outputs, mount them comfortably, and configure a wraparound view with a Canadian-dollar parts list.

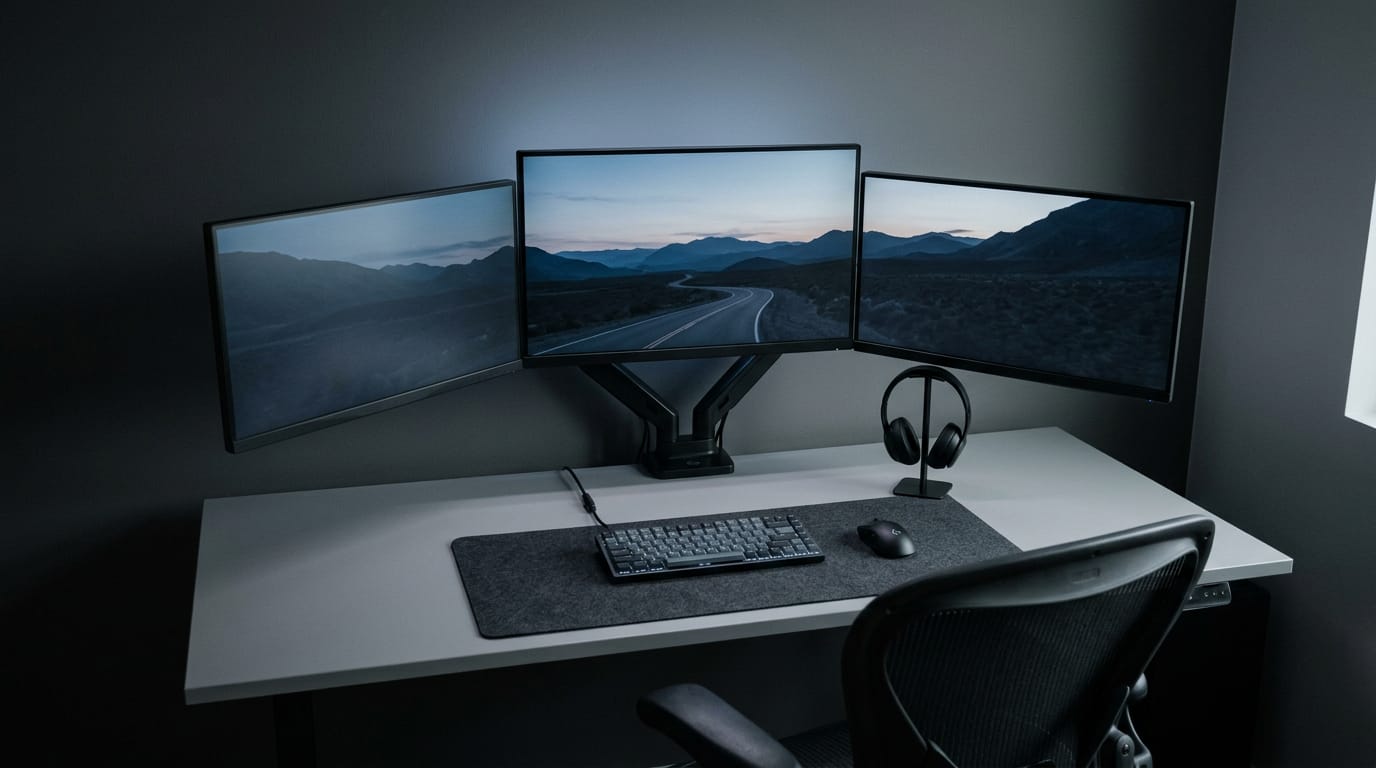
A 3 monitor gaming setup uses three screens side by side to extend a game across a wide, wraparound view, or to keep chat and other tools visible beside the game. For a smooth, comfortable setup, choose similar monitors your graphics card can drive, check ports and game support, and mount and configure the screens to match your desk and viewing position. The extra screens can make supported games more immersive and help with multitasking, but they cost more and demand more from your GPU, so buy only what suits your games, work, and budget.
Ever tried reading a map on a phone screen that’s too small? You can see the road right in front of you, but everything around it stays hidden. A single monitor can feel the same way when you’re racing or flying through a game.
A three-monitor setup, sometimes called a Surround setup, stretches one game across three screens so the view wraps around you.
Getting it right takes matched monitors, a graphics card (GPU) with enough video outputs, a sturdy mount, and some careful configuration. Here’s how to get each piece right, with a Canadian-dollar parts list at the end.
What Your 3 Monitor Gaming Setup Needs
Three screens only work when every part agrees. Your graphics card (GPU) has to drive them all, and each extra panel adds a GPU performance cost: more pixels to fill, so frame rates can dip.
Graphics card limits for three screens
Start by counting the display outputs on your card, since that decides how many screens it can drive. Think of a player who orders three matched monitors, then finds the card has only two ports, and the order goes back.
Confirm it supports more than two displays. High resolutions also put more load on your power supply, so check its capacity.
If the ports don’t line up, an adapter or a Multi-Stream Transport (MST) hub, which splits one connection into several screens, can help, but test it first.
Matching cables and ports across monitors
You’ll meet HDMI (High-Definition Multimedia Interface), DisplayPort, DVI (Digital Visual Interface), and USB-C, and they aren’t interchangeable. Match the ports on your GPU to each monitor so every screen runs at full settings. If one of your screens is a TV, the same port choices apply, and the HDMI PC to TV guide covers connecting it.
Mixing types is possible, but it makes setups fiddly. Matching beats mixing, so pick one port type where you can.
Balancing budget, desk space and GPU demand
The monitors are just the start. According to iTechGuides’ roundup of triple-screen monitors, three AOC Q27G4XN units come to about $450 CAD, but that excludes the stand, cables, tax, shipping, and any GPU upgrade.
Build your budget in CAD tiers: monitors first, then the stand, cables, and desk space, and a GPU upgrade only if your card can’t keep up. Measure your desk before you order. Three screens need real width.
Picking Monitors and the Specs That Matter
Your monitors shape how every game feels, so these specs matter. Here’s what to check, then how to make three screens look like one.
Specs that affect gaming performance
Start with refresh rate, how many times per second the screen redraws the image, measured in hertz (Hz). Match it to what your graphics card (GPU) can deliver, since a fast screen fed slow frames gains you little.
Response time is how fast a pixel changes colour. Slow transitions cause ghosting, a smeared trail behind moving objects.
Adaptive sync matches the monitor’s refresh to your GPU’s frame output, which stops the image from tearing. FreeSync comes from AMD (Advanced Micro Devices) and G-Sync comes from NVIDIA, so check which one your card supports.
Higher rates are for gaming only. Think of a builder who works all day and games at night: a mid-tier rate covers both, and top speed pays off only mid-game. Pay for speed where you play.
Picking the right size and resolution
The sweet spot is 27 to 32 inches: big enough to fill your view without swallowing the desk. 1440p looks sharper than 1080p without asking as much of your GPU as 4K, the highest common step.
Higher resolution is worth it only when your hardware can drive it.
For example, a player with a mid-range card who buys three 4K screens may watch the frame rate sag mid-firefight. Three 1440p screens keep that same card in its comfort zone, so the upgrade money stays in their pocket.
Keep size and resolution similar across all three screens so the grid lines up.
Keeping monitors and bezels consistent
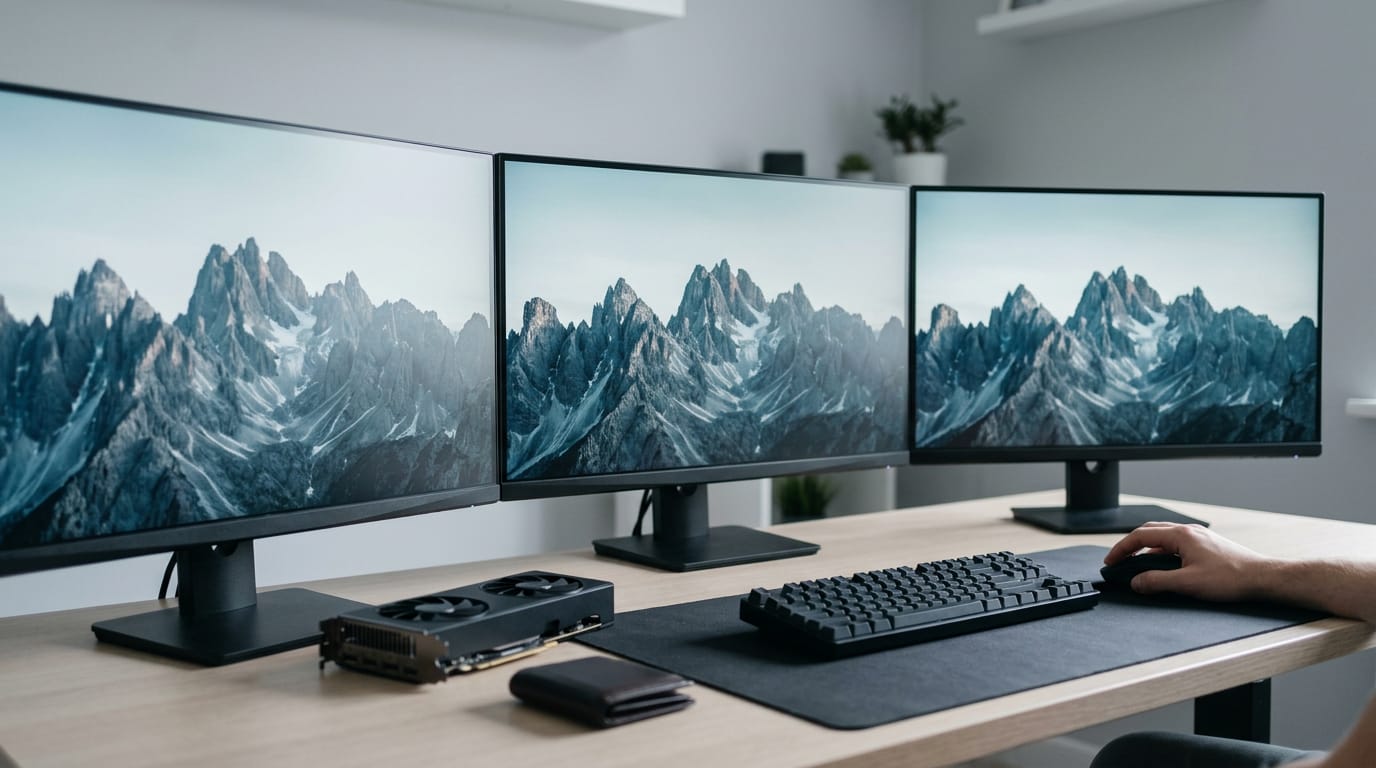
Identical monitors are the easiest route. If you can’t buy three of one model, match size, resolution, refresh rate, and panel type. Bezels, the frames around each screen, should be thin so the setup reads as one seamless view.
Mixed models are possible, but panel type matters more than model. IPS (In-Plane Switching) panels usually hold colour steadier from an angle, while VA (Vertical Alignment) panels tend to show deeper blacks.
Pair like with like on the sides, or the seams will show.
Whether curved or flat screens suit you
A curve buys you immersion, not extra room, and it needs more desk depth, so measure first. Curved ultrawides (single, wide screens) are expensive.
Some builders curve only the side screens and keep the centre flat, which gives a player with a shallow desk some wrap without the full depth.
Recommended monitors and arms by budget
- LG UltraGear and AOC: both have gaming lines worth a look, so start your shortlist there.
- Budget versus high-end: pick your tier first, then pull all three screens from one line so they stay matched.
- Best gaming monitor list: shortlist per tier, and cut any model whose refresh rate or panel type doesn’t match.
- Triple monitor arm: one arm holds all three screens at the same height and angle, so check its weight rating first.
- Pricing: every price in the parts list later in this article is in Canadian dollars (CAD) at Canadian stores.
Pick the tier, then buy the set.
Mounting Screens Comfortably on Your Desk
Three screens only feel good when they sit where your body wants them. Here’s how to mount, align, and tidy them.
Choosing arms and stands that hold three
A triple arm holds all three monitors on one clamp, so you’re not juggling three stands. Think of a streamer with chat on the left and the game in the center. One move slides the whole setup forward or back.
Check the arm’s rated weight limit against all three monitors combined. Then pick the install: a clamp grips the desk edge, while a grommet mount drops through a hole in the desk. Make sure your desk edge fits the clamp’s range.
It’s less about how many arms you buy and more about where the screens land, so look for pivot and swivel.
Checking VESA mount holes and wall options
Each monitor has a pattern of mounting holes on the back, called VESA mount holes after the Video Electronics Standards Association that sets them. Most arms and wall brackets use 75x75mm or 100x100mm spacing.
Check each monitor’s spec sheet, because a mismatch means nothing fits.
Wall brackets use the same pattern, so the same check applies, and the wall must carry the load.
Aligning screens at eye level for comfort
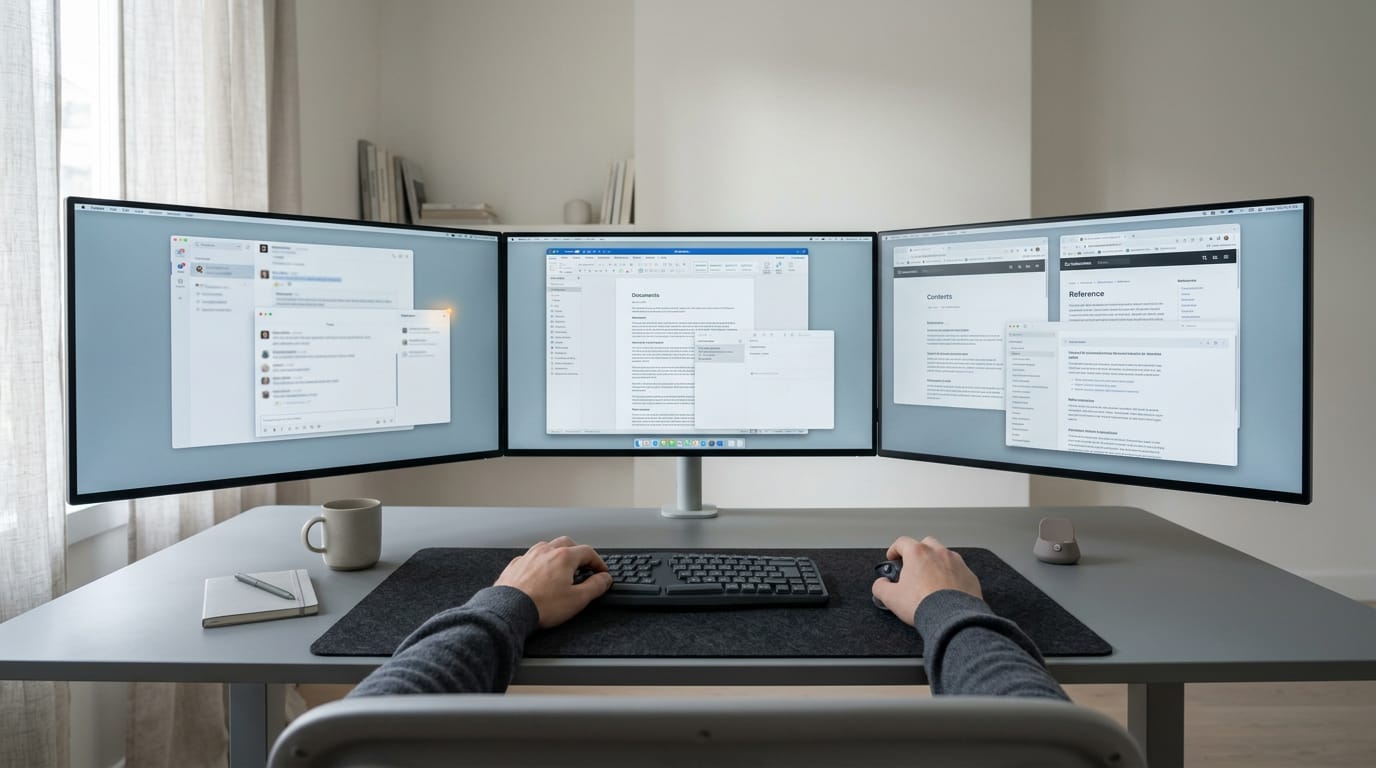
Set the top of the center screen at or near eye level, since looking up or down for hours is how neck and eye strain sneak in. Use tilt to fine-tune, and rotate the side screens inward so you aren’t turning your head to catch a chat message.
Then judge the view from your real seat, not from where you stood tightening the clamp. Get the height right, and the rest falls into place.
Freeing up desk space and hiding cables
With the arm up, your desk surface is yours again. Arms with built-in cable routing run cords through the arm itself. Without that, you’ll need these:
- Clips: hold cords to the arm or desk edge so they stay out of your keyboard’s way.
- Sleeves: bundle loose cords into one tidy run.
For a desk, look for one built for multiple screens, and check its minimum depth and width against the arm’s reach and your screens’ footprint.
Setting up and Configuring the Screens
Work in this order: hardware, then Windows, then graphics software, then fine-tuning. Skipping ahead usually means redoing work.
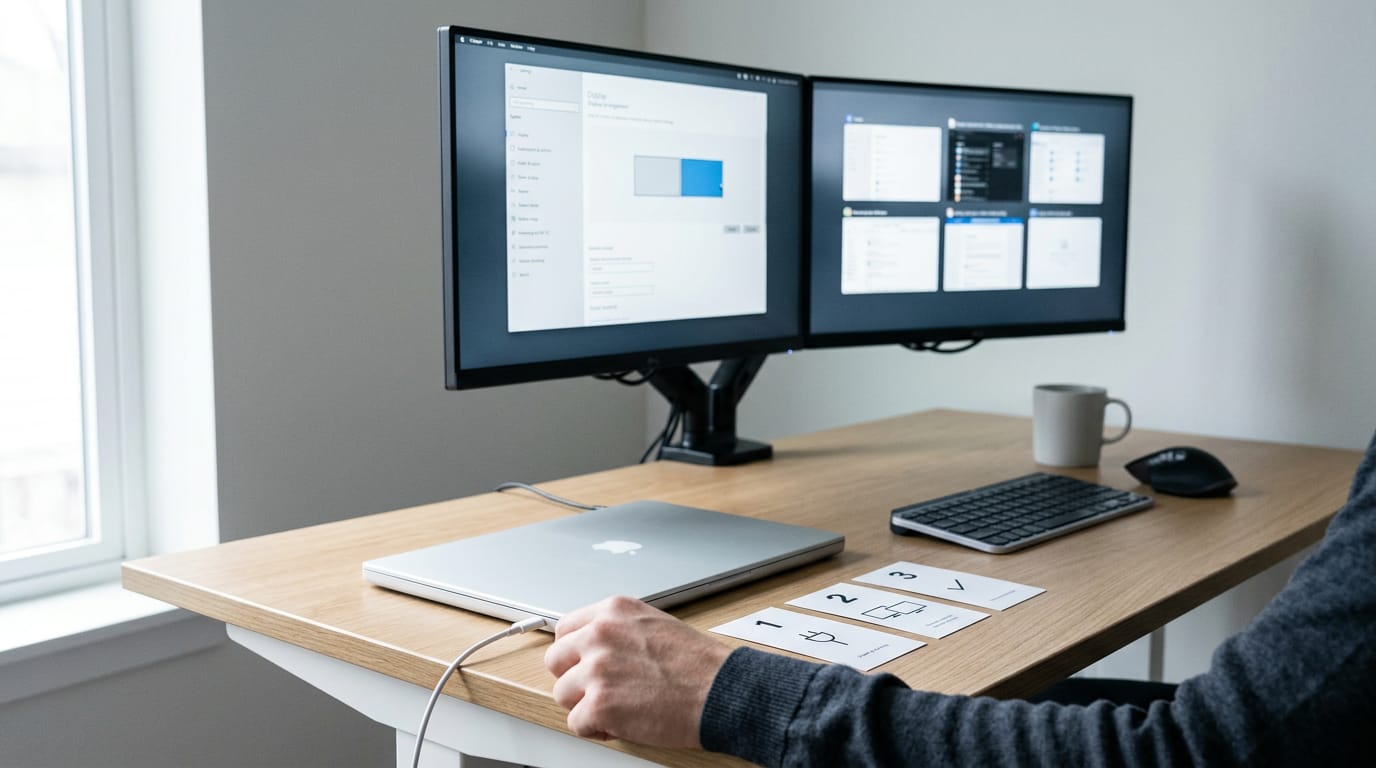
Connecting and mounting everything in place
- Prepare workspace and power. Clear the desk and plan cable runs first. Give each monitor a clean power path, ideally through a surge protector.
- Connect and arrange monitors. Confirm your graphics card (GPU, the chip that draws your screens) has enough outputs for three displays. Then line up the screens so the bezels (the frames around each display) sit flush.
- Assemble and mount arm. Clamp the arm to the desk, attach each screen, and tighten before adjusting. Run cables through the arm.
For example, a streamer who runs every cable first avoids re-tightening the arm all evening.
Windows settings for arranging three displays
Right-click the desktop and choose Display settings to open Windows display settings.
- Identify and order monitors. Click Identify to flash a number on each screen, then drag the boxes to match your desk.
- Extend displays. Choose “Extend these displays” so each screen gets its own part of the desktop, not a copy.
- Set central main display. Select the center monitor and tick “Make this my main display.” Games and new windows open there by default.
Using Nvidia Surround or AMD Eyefinity
Both merge three screens into one wide canvas.
- Enable Surround in control panel. Turn on Surround in the Nvidia Control Panel, or Eyefinity in AMD’s Radeon Software.
- 1x3 topology setup. That’s one row of three screens, the usual layout for wide games.
- Eyefinity quick versus advanced. Quick builds the layout for you. Advanced lets you set layout and resolution by hand.
- Different resolutions handling. Mismatched screens usually force scaling, which can look soft or leave black bars. Matched monitors avoid that.
- Disable for everyday use. Turn it off for work, since a spanned desktop makes windows awkward to place.
- Single main screen for competitive play. Many players switch to the center screen alone for competitive titles. The wide view is for immersion; the single screen is for precision.
Matching colors and fine-tuning each screen
Three screens only look like one setup when they match.
- Match color and brightness. Set the same brightness, contrast, and picture mode on all three, or one screen will look warmer than its neighbors.
- Adjust OSD settings. The OSD (on-screen display, the menu behind the monitor’s buttons) holds these options.
- Fine-tune arm angles. Set height so the center screen sits at eye level, and angle the side screens toward you. Always check from your chair, because that’s where you’ll actually play.
Display management tools like DisplayFusion
Windows covers the basics, but a third-party tool can handle the rest. DisplayFusion is one example.
- DisplayFusion wallpapers and windows. It can span one wallpaper across all three screens and adds hotkeys for moving windows between monitors.
- Display management tools. These are optional, so skip one unless Windows’ built-in options fall short.
How Three Screens Change Your Gaming
Three screens do more than add pixels, and they change how you play. They also change what you run around the game, so it helps to know both before you buy.
Panoramic view that pulls you in
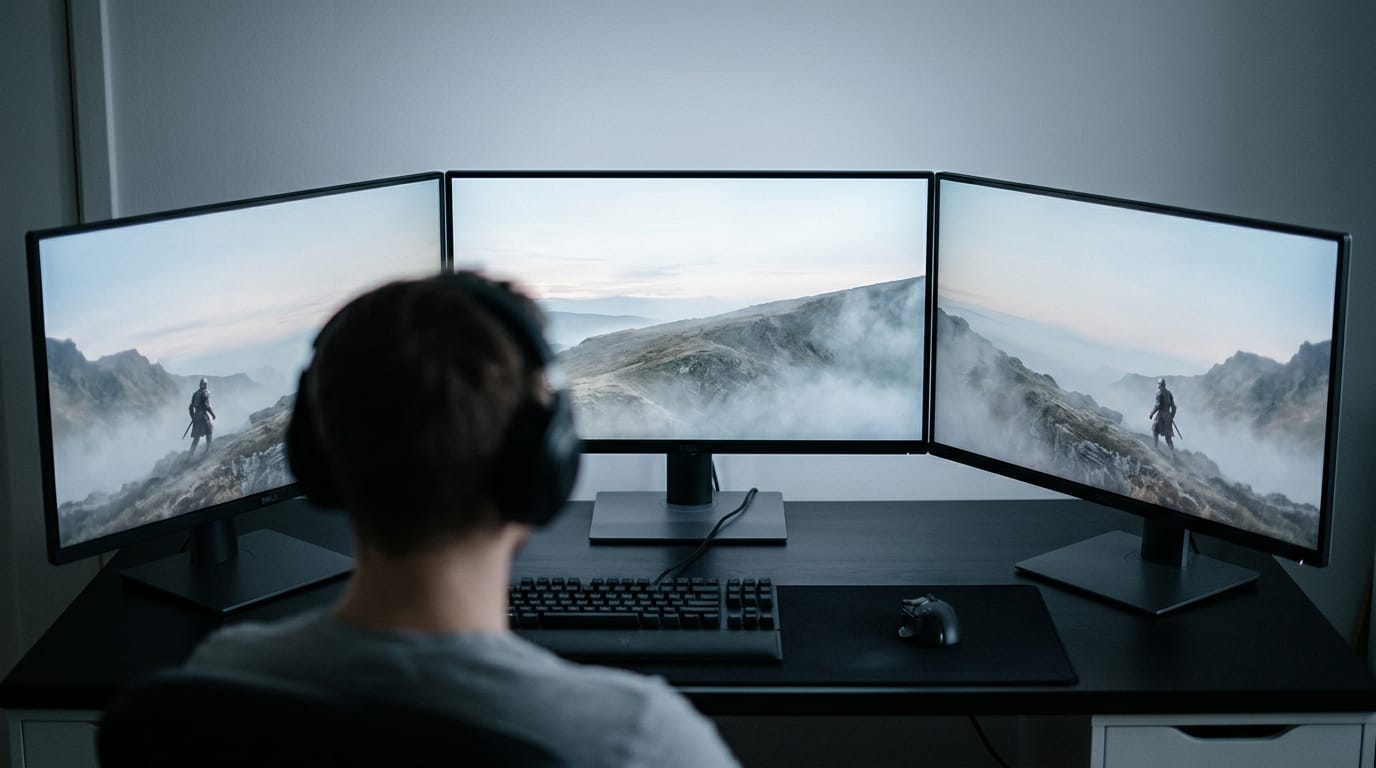
Your peripheral vision (the edge of your sight) gets far more to work with when the game fills three panels. Enemies flanking you show up sooner, and the world wraps around you.
The panels frame you on three sides, so the game surrounds you instead of sitting in one window. Some players even prefer three flat panels to a single curved ultrawide for that reason. The setup is about surrounding you, not filling one window.
Checking game support and in-game settings
Not every game supports multiple monitors, so check first. The WSGF (World Surround Gaming Forums) compatibility list is a good place to see which titles work with three screens.
Expect to set resolution for each game separately. A field of view (FOV) setting controls how much of the world the camera shows, and getting it right keeps the view from looking stretched.
Cutscenes often revert to a standard 16:9 picture, so your side screens may go quiet. Plan for that now, not during a boss fight.
Using side screens for chat and streaming
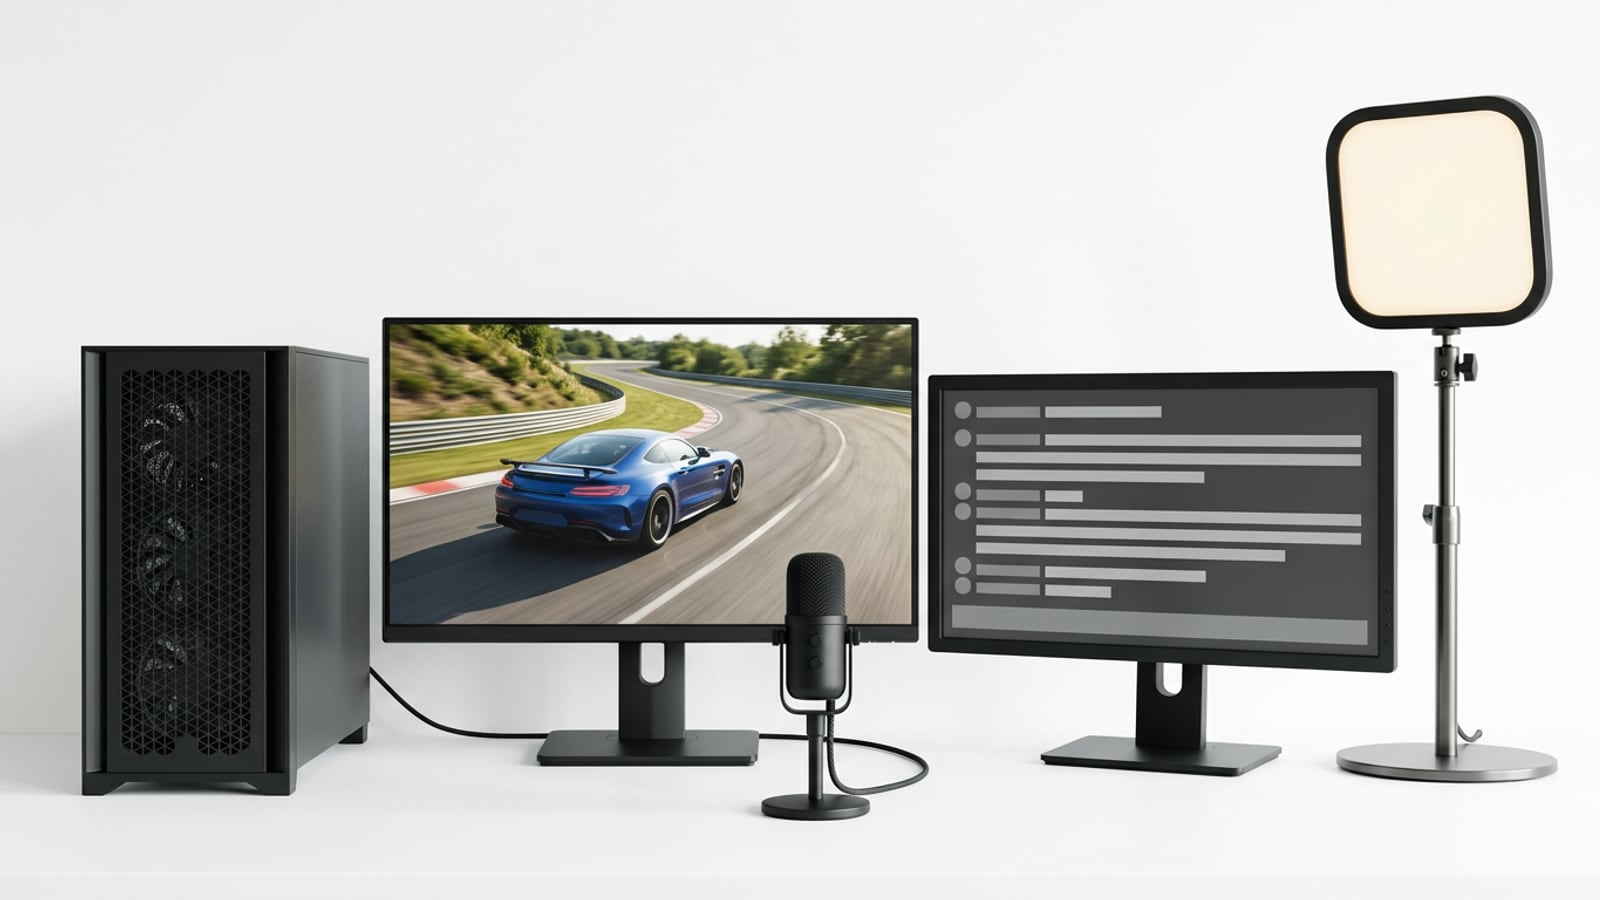
Your side screens don’t have to show the game. Think of a player who runs a Discord or TeamSpeak call on the left, keeps a walkthrough open on the right, and plays on the center panel.
Nothing gets minimized, and nobody on the call waits while they hunt for a window.
- Chat: voice stays visible instead of hiding behind the game.
- Guides and wikis: keep a walkthrough in view while you play.
- Tutorials: follow along without alt-tabbing out of the match.
If you stream, run OBS (Open Broadcaster Software) from a side panel. Put the game in the center and your tools on the sides, so you’re playing with your tools instead of switching to them.
Checking console support for three screens
Support varies by console, so don’t assume your PC setup will carry over. Confirm that the console and the games you play both support three screens before you buy. A quick check now beats a return shipment later.
Work and Creative Uses Beyond Gaming
A third monitor isn’t just for games. Plenty of your screen time goes to work.
Keeping more windows open at once
A gamer who freelances at the same desk runs research on the left, the draft in the middle, and chat on the right.
Here’s why that works:
- Multiple windows visible: Documents and browser pages stay in view instead of stacking up.
- Less tab switching: You’ll spend less time hunting for windows and more time using them.
- Reference and communication screens: One panel holds notes while another handles messages, so neither fights for space.
Editing and color work on three screens
A video editor’s timeline sits on one screen, the preview on another, and the tools on the third.
Accurate color depends on color gamut, the range of colors a monitor can show. Mismatched panels make a clip look right on one screen and wrong on another, so matched panels beat extra ones.
For content creators, the third screen is where monitoring happens. Picture a streamer with the game up front, chat on one side, and the stream preview on the other, spotting a dropped frame or muted mic in seconds.
Two monitors compared with three
Two monitors handle most tasks. A third adds another lane, useful only if your work spans it.
Every extra panel adds to the bill, and your graphics processing unit (GPU) must drive them all. Running three displays asks more of the card than two do, so check its outputs before you buy.
In games, side screens add immersion. At work, they add width, not focus. Think of a player who edits on weekends and games on weeknights: two monitors cover both. Three isn’t automatically better.
A three-screen setup comes down to a few deliberate choices: matched monitors, a graphics card with enough outputs, a mount that keeps your neck comfortable, and a configuration that treats all three screens as one wide view.
Get those right and your desk becomes the place you want to play.
Buy for the games and streams you actually run, and skip the extras that won’t change your experience. That’s how a stream-ready desk stays capable and affordable.
Build to your budget, and let the game fill your view.
References
- 15 Best Monitors for Triple Screen Setup in 2026: 27-inch vs 32-inch — itechguides.com (2026)
Sources
- 15 Best Monitors for Triple Screen Setup in 2026: 27-inch vs 32-inch, itechguides.com,
Free · The Build Sheet
The Build Sheet: three gaming PCs priced at Canadian stores