Building a PC Step by Step: The Complete Guide
Building a PC step by step takes you from a Canadian-dollar parts budget through assembly to Windows setup, first boot, and common startup problems.

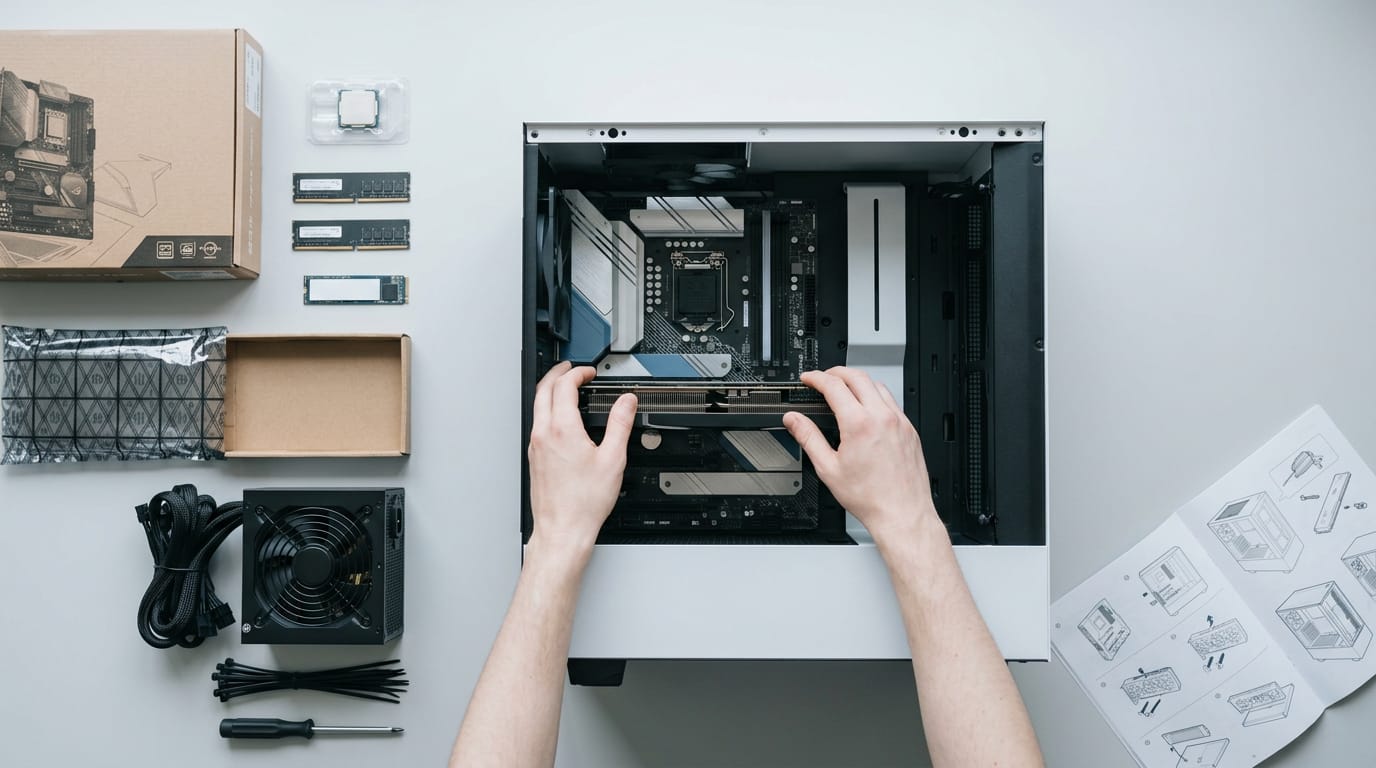
Building a PC step by step means choosing compatible components, assembling them in a planned order, then starting the computer and installing its operating system and drivers. Set a firm budget, match parts to your needs and case, check compatibility, and work carefully through installation and cable connections before troubleshooting the first boot. Taking your time helps avoid costly mismatches and mistakes, so your first PC can run the games and programs you want at a price you can afford.
Think about the last time you opened a flat-pack bookshelf, dumped out a pile of screws, and squinted at a picture-only instruction sheet. Building a PC works the same way: the parts are laid out in front of you, and the order you tackle them matters.
The good news is that you don’t have to be an expert.
Here’s the short answer: a PC build is a series of small, clear steps. This walkthrough takes you through each one, from planning your budget in Canadian dollars to the first boot, and flags the gamer-specific setup checks that are easy to overlook.
Start Building a PC Step by Step
Before you pick parts for your personal computer (PC), settle what you can spend and what it must do.
How much should a good PC cost?
A good setup costs whatever it takes to run your games at your resolution, inside the budget you set. Set a firm budget in Canadian dollars (CAD).
According to What to Look for in a Workstation, your budget is probably the most limiting factor in what you buy.
Define the purpose by asking what you’ll play, not how the parts look on paper.
Consider desk or under-desk placement, since that limits case size.
Track every cost in one spreadsheet, including shipping and taxes. Small extras add up fast.
Most builds fall into budget, midrange, or high-end tiers. Tier prices shift, so compare current CAD prices.
Tools and sample builds to plan with
- PCPartPicker compatibility checks. Run your list through PCPartPicker so a mismatched part gets caught before it ships.
- Logical Increments sample builds. Use them as a starting point, then swap parts to fit your games.
- Compare retailer pricing. Check a few Canadian stores and confirm each price is in CAD.
A gamer planning a 1440p build catches a too-weak power supply on the list, not after the card won’t power on.
Buying smart in a shifting market
- Chip shortage effects. The shortage can shift stock and prices. Ireland’s Office of Government Procurement ties it to memory and storage being diverted toward artificial intelligence (AI) gigafactories.
- Cheap storage and memory. Hunt for deals, but price-check them, since these parts are caught in that squeeze.
- Premium GPU pricing. Decide what your games need before chasing a top graphics card (GPU, short for graphics processing unit).
- Reputable vendors and returns. Buy from established retailers, check their Canadian return policies, and compare CAD prices only.
- Inspect parts on arrival. Check each box for damage or missing pieces before returns close.
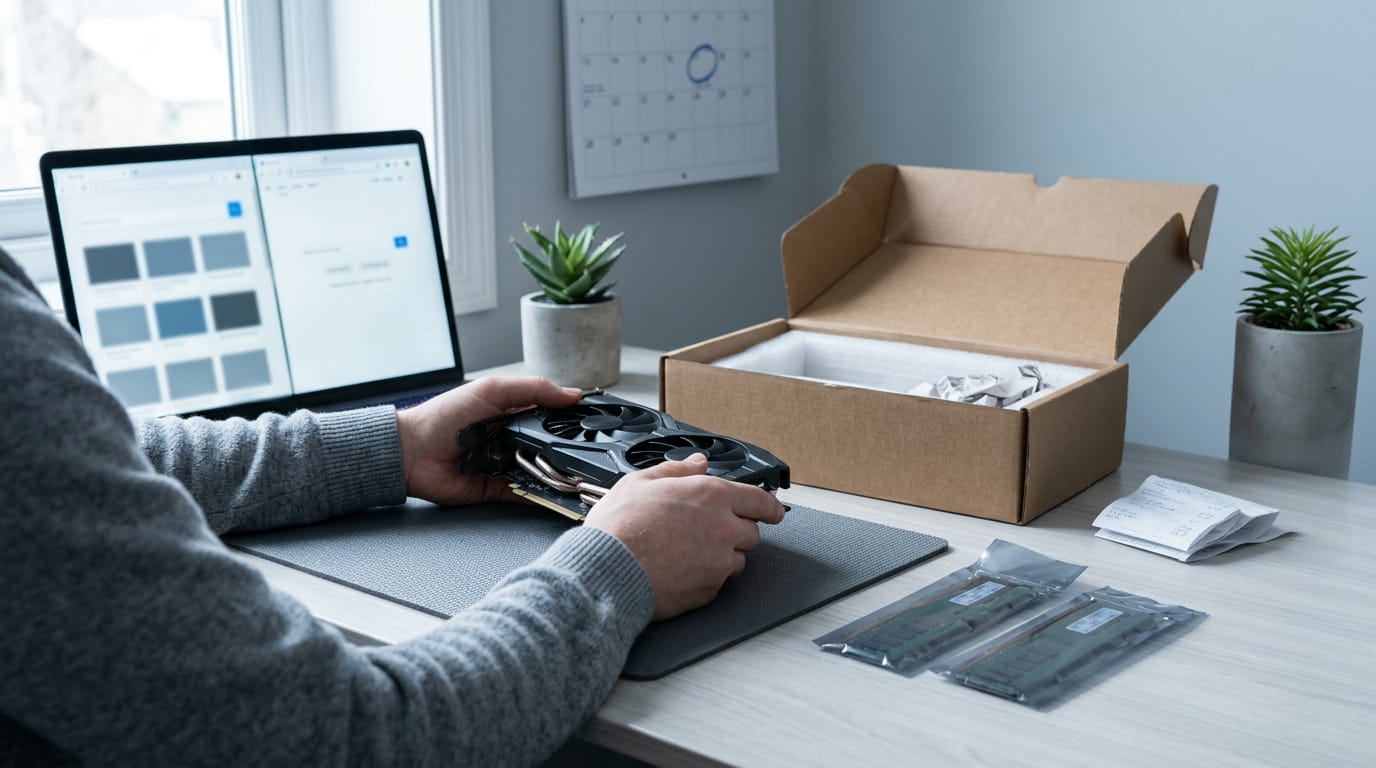
Choosing a monitor and other extras
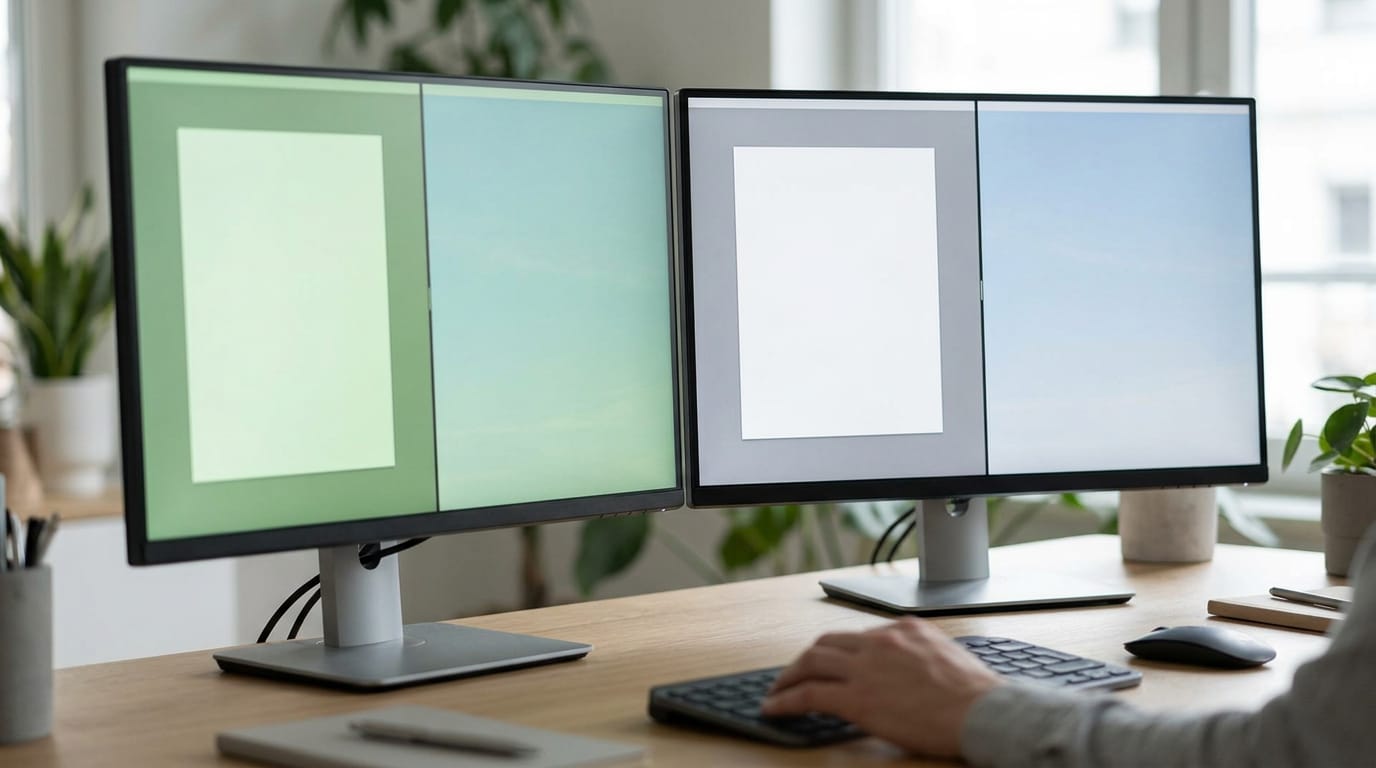
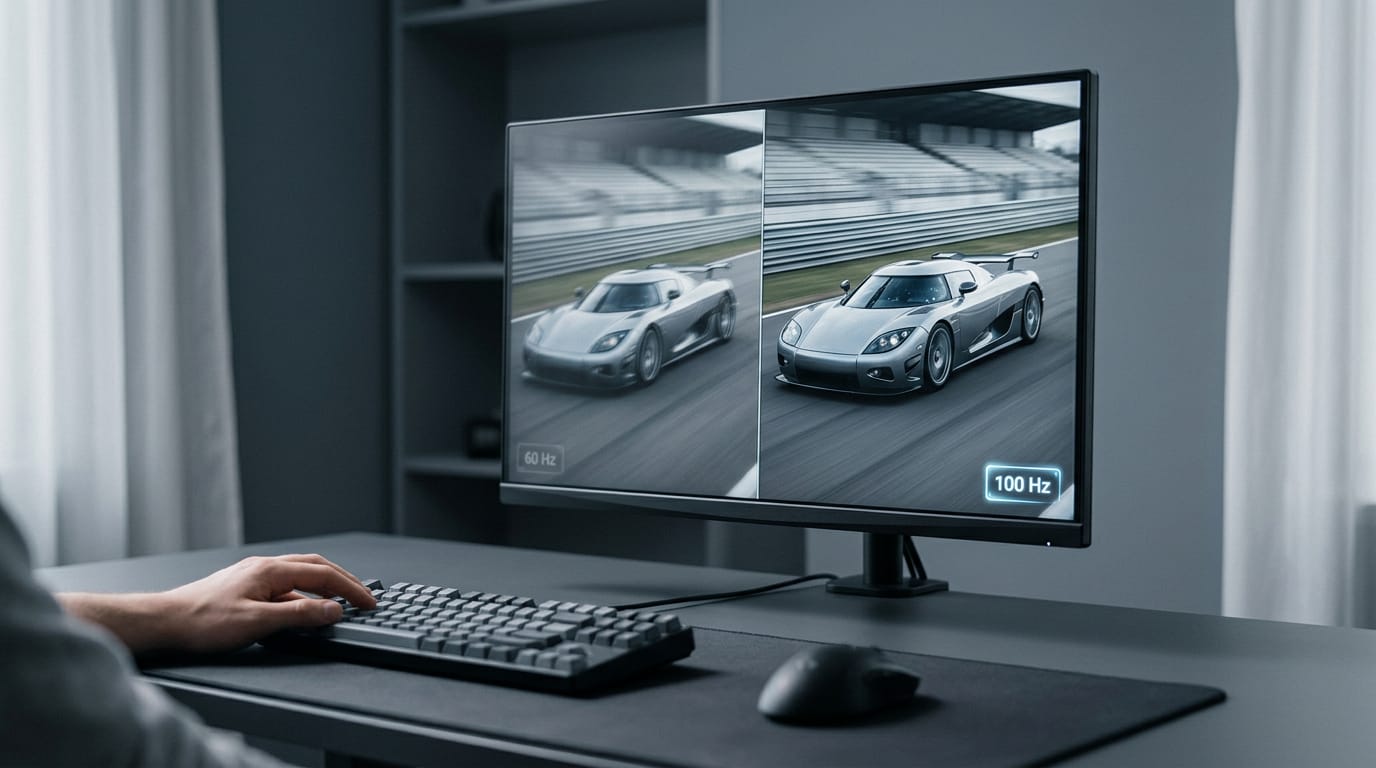
Match the monitor’s refresh rate (how many times a second the screen updates) to what your graphics card can drive, and budget for it up front.
- Keyboard and mouse. Try them in a store or read player reviews.
- Speakers or headset. A headset keeps callouts clear, while speakers suit a shared room.
- Accessory guides. Cables, fans, and mounts are easy to forget, so check one before checkout.
Picking the Core Parts You Need
Before you buy, know which parts work together. Here’s how to pick each one.
The main parts every build needs
Each build needs a case, a motherboard, a CPU (central processing unit), a GPU (graphics processing unit), storage, RAM (random access memory), a PSU (power supply unit), and an OS (operating system). Other abbreviations you’ll see:
- SSD: solid-state drive
- HDD: hard disk drive
- VRAM: video memory on your graphics card
- BIOS: basic input/output system, your board’s firmware
- LGA: the socket style Intel uses
- ATX: the standard full-size board format
- M.2: a slim slot for fast SSDs
- DDR: double data rate, the RAM standard (DDR4 or DDR5)
- XMP and EXPO: memory profiles that run RAM at its rated speed
Picking a case that fits your desk
Measure your desk and leave cable room. An ATX mid tower suits most desks; a full tower adds room but takes more floor space. Airflow clearance matters more than looks: cramped cases trap heat, so leave space around the fans.
Think of a player who plugs in a headset nightly: easy-reach front ports save them from crawling behind the desk. Choose the look last.
Choosing a motherboard that matches your CPU
Your socket, the slot your CPU sits in, has to match the board. Intel uses LGA sockets and AMD uses AM sockets, so match the exact socket name, not just the brand. For a first build, choose an ATX board for its roomier layout.
The chipset sets the board’s features, so check that it offers the M.2 slots you need. Overclocking, running your CPU faster than its rated speed, adds heat and risk, so leave it off for now.
Pairing your CPU with the right cooler
Check that your cooler supports your board’s socket. Some CPUs include integrated graphics, basic built-in video, but you’ll still need a dedicated card for games. The stock cooler handles light use; an aftermarket cooler usually runs cooler and quieter.
A 240mm-plus liquid cooler is a solid step up. For AMD or Intel, the rule is the same: match the socket and check case space.
Intel’s Raptor Lake processors have had degradation issues. As PCWorld reported, Intel said they could degrade over time due to elevated operating voltages, and BIOS updates have been issued to address it.
Install the latest BIOS update from your board maker once your build is running.
Choosing a graphics card for your games
You need a dedicated graphics card for gaming, so put most of your Canadian-dollar budget here. The GPU sets your frame rate, the number of frames your screen shows each second.
AMD, Nvidia, and Intel all make cards, so compare them on the games you play, not the logo. Cards come in budget, mid-range, and high-end tiers; pick the one your budget allows. We recommend 16GB of VRAM.
Match the card to your resolution, the pixel count such as 1080p or 1440p. Take a student who mostly plays at 1080p: a mid-range card covers them, and the savings can go toward a better monitor.
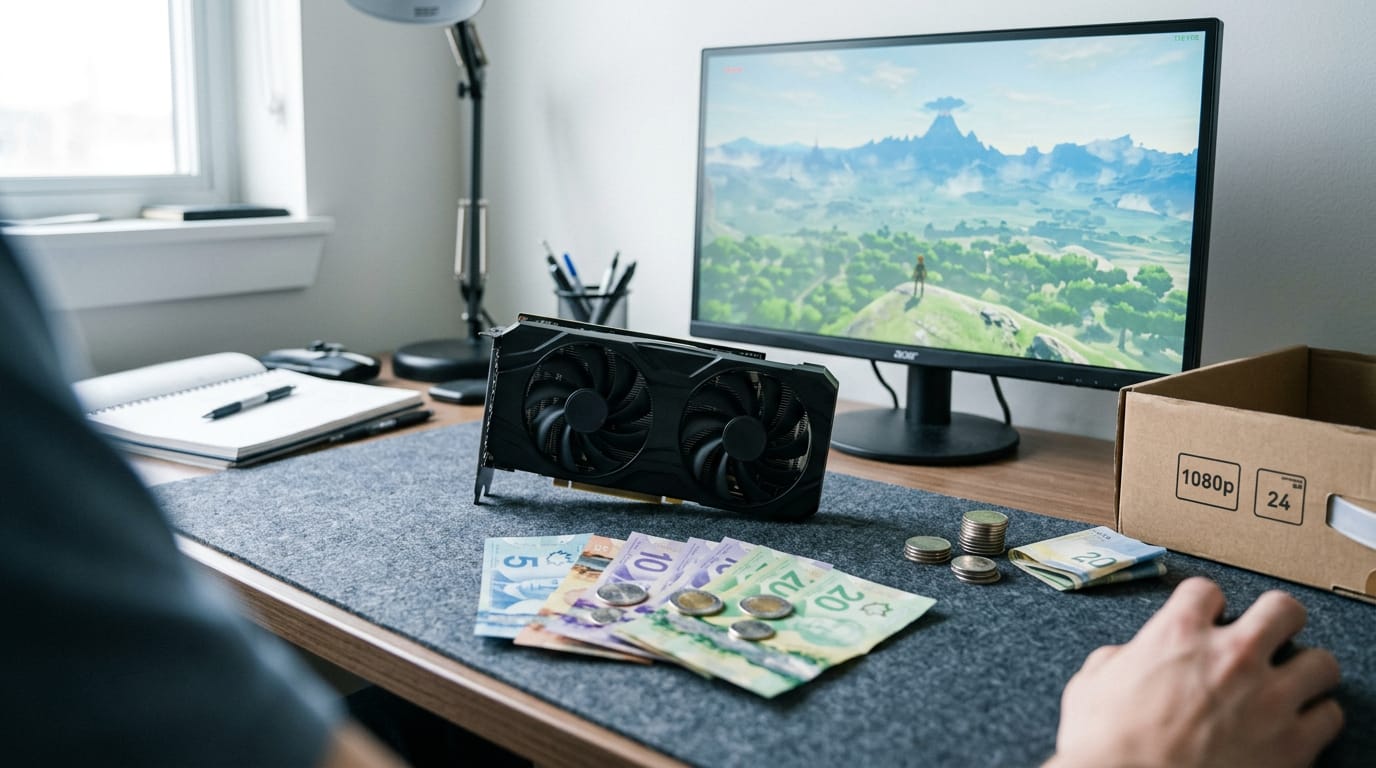
Picking storage, memory, and a power supply
Start with at least 256GB of storage, ideally an M.2 SSD. Skip HDDs for your main drive, since they’re much slower than SSDs. Get at least 16GB of RAM as a matched kit, not random sticks.
Your board takes only DDR4 or DDR5, so check before you buy, then enable XMP or EXPO in your BIOS. For power, buy a reputable brand with headroom for your CPU and GPU. A modular supply lets you plug in only the cables you need.
If your card needs the 12V-2x6 connector, a newer power plug, confirm the unit includes that cable. Skip the no-name unit.
Assembling Your PC, One Step at a Time
Assembly is mostly patience and order, so don’t rush any step. The steps below follow a sensible sequence, from the workspace to the last cable.
Setting up a clean, safe workspace
Start on a clear, flat surface. Think of a first-timer working at the kitchen table: a clear top keeps a dropped screw easy to spot.
You’ll want a Phillips screwdriver (the cross-head kind), and before you touch any part, discharge static electricity by touching bare metal on the case. Read each component’s manual, since steps and screw locations vary by model.
Aim for snug screws rather than tight ones, because overtightening can strip threads. Patience beats speed.
Seating the CPU and applying thermal paste
Hold the central processing unit (CPU) by its edges and keep your fingers off the pins and contacts.
Unlock the socket’s latch, line up the small golden triangle on the chip with the matching marker on the socket, and let the chip drop straight in without forcing it. Then latch it down.
Apply thermal paste (the compound that moves heat from the chip to the cooler) as a dot about the size of a pea in the center, since less is more here.
Mount the heat sink (the cooler) following its manual, then plug its fan into the CPU fan header, the labelled pin block on the board. Wipe away any excess paste with isopropyl alcohol.
Installing RAM and your M.2 drive
Open the levers at both ends of each random access memory (RAM) slot. Match the notch in each stick to the key in the slot so it only fits one way. Then press down evenly rather than from one side until both levers click into place.
Next, slide in your M.2 drive, a small stick-shaped storage drive that plugs straight into the board. Set it at the angle your manual shows, press it flat, and secure it with its small screw.
Mounting the motherboard, PSU, and GPU
Lower the motherboard into the case and line its rear ports up with the openings in the back panel. Fasten it with the standoff screws, hand-tightening each one. Slide the power supply unit (PSU) in with its fan facing the vent in the case.
Install the graphics card (GPU, or graphics processing unit) last, once the board and PSU are secure, so it isn’t in your way.
Remove the metal back plates covering the slots it needs, seat the card firmly in the main PCI Express (PCIe) slot, and screw it down so it stays put.
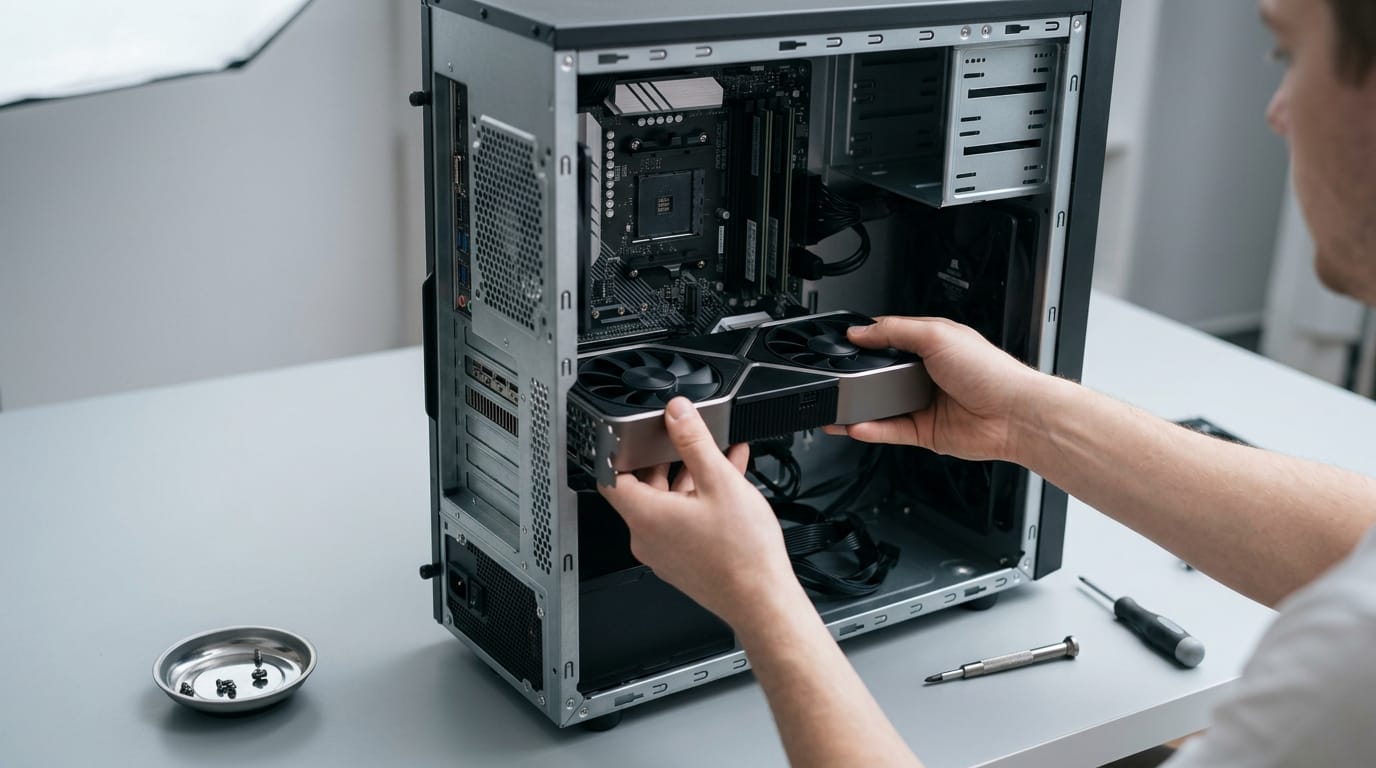
Connecting all the cables correctly
Before you plug anything in, make sure the PSU is switched off and unplugged from the wall. Then work through these connections:
- Motherboard power. Plug the large 24-pin connector into the board, then the CPU power cable into its marked socket.
- GPU power. Connect the PCIe power cables to the card, matching each one to its label.
- Front panel header pins. Attach the power button, reset, and status light cables to the matching pins, using your board’s diagram.
- Fan connections. Plug each case fan into a fan header on the board.
Tuck loose cables behind the motherboard tray instead of letting them drift into the fans, which keeps air moving through the case. Tidy now, easier later.
Starting up, Installing Windows, and Fixing Problems
Now that everything’s assembled, we’re ready for the first power-on, then the Windows install.
Powering on and fixing startup problems
Press the power button and watch for the fans to spin. If nothing happens, retrace your steps: undo the last change and try again.
Check for faulty components by reseating your memory and confirming every power cable is clicked in. A temperature and stress test will flag parts that run hot or fail under load.
Plug your monitor into your graphics card (GPU, the graphics processing unit), not the motherboard, or you’ll see nothing. A YouTube video walkthrough for your exact board can help if you’re stuck.
A player whose first build shows a black screen moved the monitor cable to the graphics card and saw the logo within minutes. Usually, the fix is that small.
Installing Windows from a USB drive
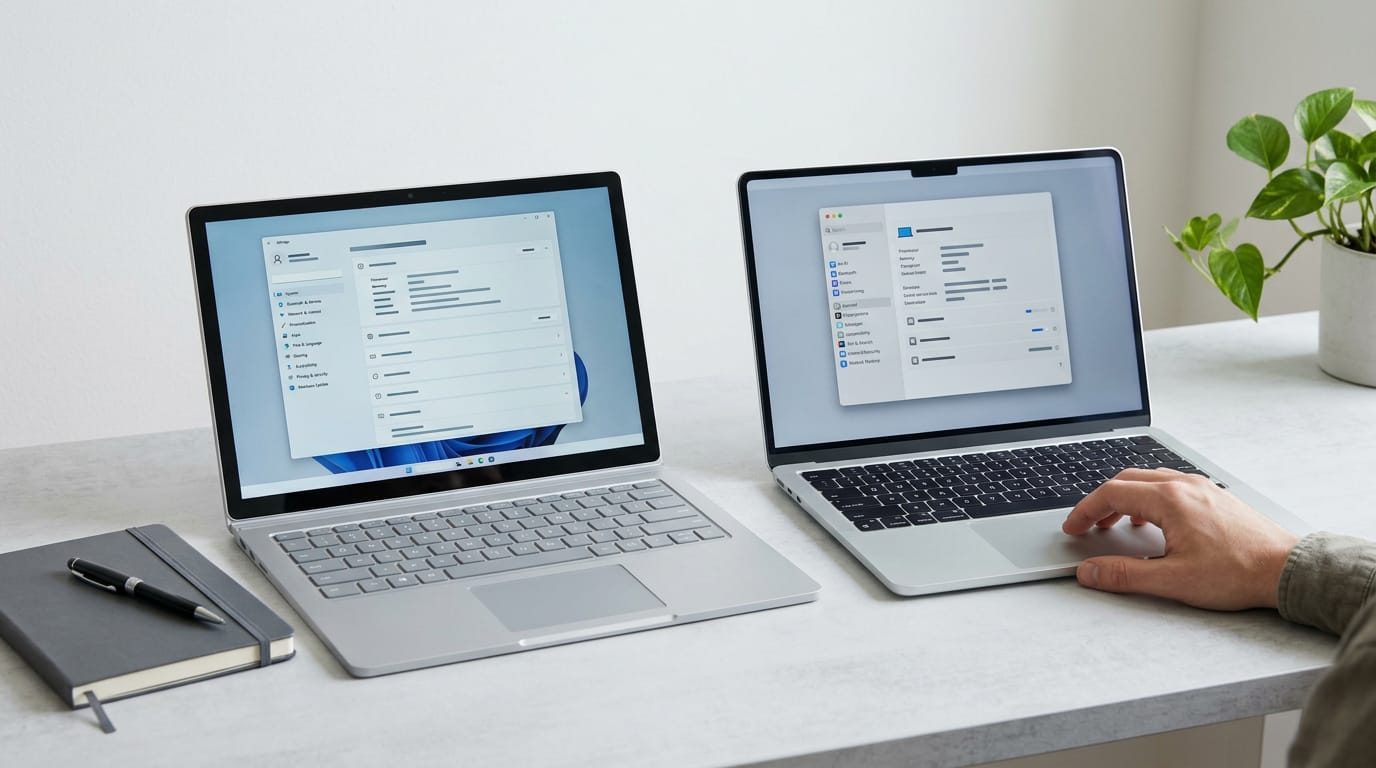
Start by buying a Windows license, since you’ll need it to activate. Then, on another working computer, use the Windows installer tool to create a USB installer.
Before installing, open the BIOS (Basic Input/Output System, the firmware that starts your hardware) and apply any BIOS update your motherboard maker offers.
Turn on XMP (Extreme Memory Profile) or EXPO (Extended Profiles for Overclocking) so your memory runs at its rated speed, then set the USB drive as the boot device in the BIOS.
To get rid of the ‘almost done setting up your PC’ message, give it time first, since the final steps can be slow. If it stays frozen, hold the power button to force a restart, then let setup try again.
Once you reach the desktop, install the latest drivers for your graphics card and motherboard.
Building a PC comes down to a handful of manageable steps: plan around your budget, choose parts that work together, assemble in order, and take your time on that first boot.
Each stage sets up the next, so a little care early on saves a lot of frustration later.
Your first PC doesn’t have to be perfect. It just has to run the games you love at a price you can live with. Once you’ve done it once, the next build gets easier, and you’ll know exactly where to look when something goes sideways.
References
- AI-Driven Memory Shortage — gov.ie (2026)
- What to Look for in a Workstation — dl.acm.org
- Devastating Spectre CPU bug returns to haunt Intel … — pcworld.com (2025)
Questions
What are some tips for building a PC?
Set a firm budget, decide which games and resolution you’re building for, and check that all parts are compatible before buying. Measure your desk and case space, compare current prices, and inspect parts when they arrive. During assembly, work on a clear surface, discharge static by touching bare metal, follow each component’s manual, and avoid overtightening screws.
How do I boot my new PC for the first time?
Connect the monitor to the graphics card, then press the PC’s power button and check that the fans spin. If it does not start, reseat the RAM and check that all power cables are firmly connected. To install Windows, create a USB installer on another computer, set the USB drive as the BIOS boot device, and follow the setup prompts.
How to get rid of your almost done setting up your PC?
Give the setup process time, since its final steps can take a while. If the “Almost done setting up your PC” message stays frozen, hold the power button to force a restart, then let setup run again.
How much should a good PC setup cost?
A good PC setup costs what is needed to run your games at your target resolution within your budget; prices vary by performance tier and change over time. Set a firm budget in Canadian dollars and include shipping, taxes, the monitor, and other accessories in your total.
Sources
Free · The Build Sheet
The Build Sheet: three gaming PCs priced at Canadian stores