Cable Management for a Standing Desk Without the Tangle
Cable management for standing desk keeps cords from pulling tight when you raise the desk. Plan cord slack, hardware, and costs in Canadian dollars.

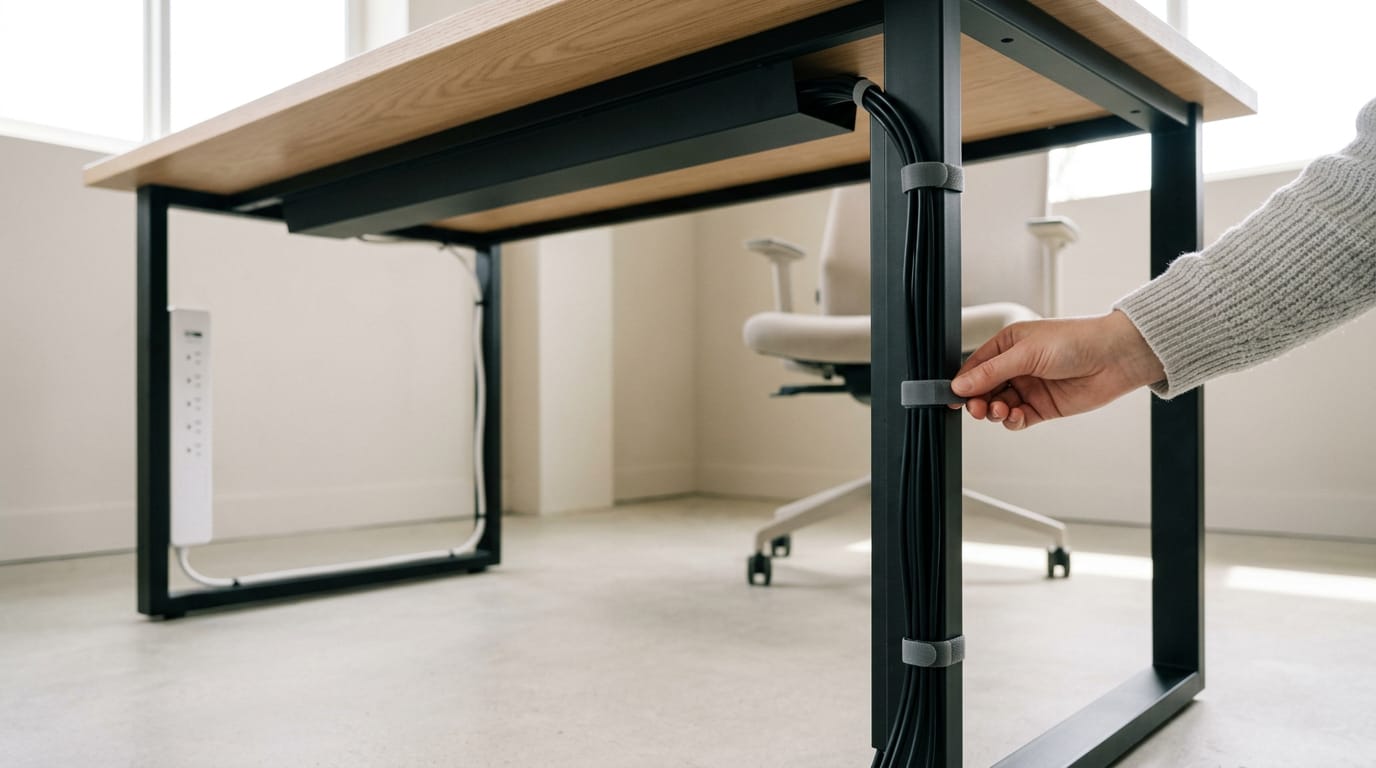
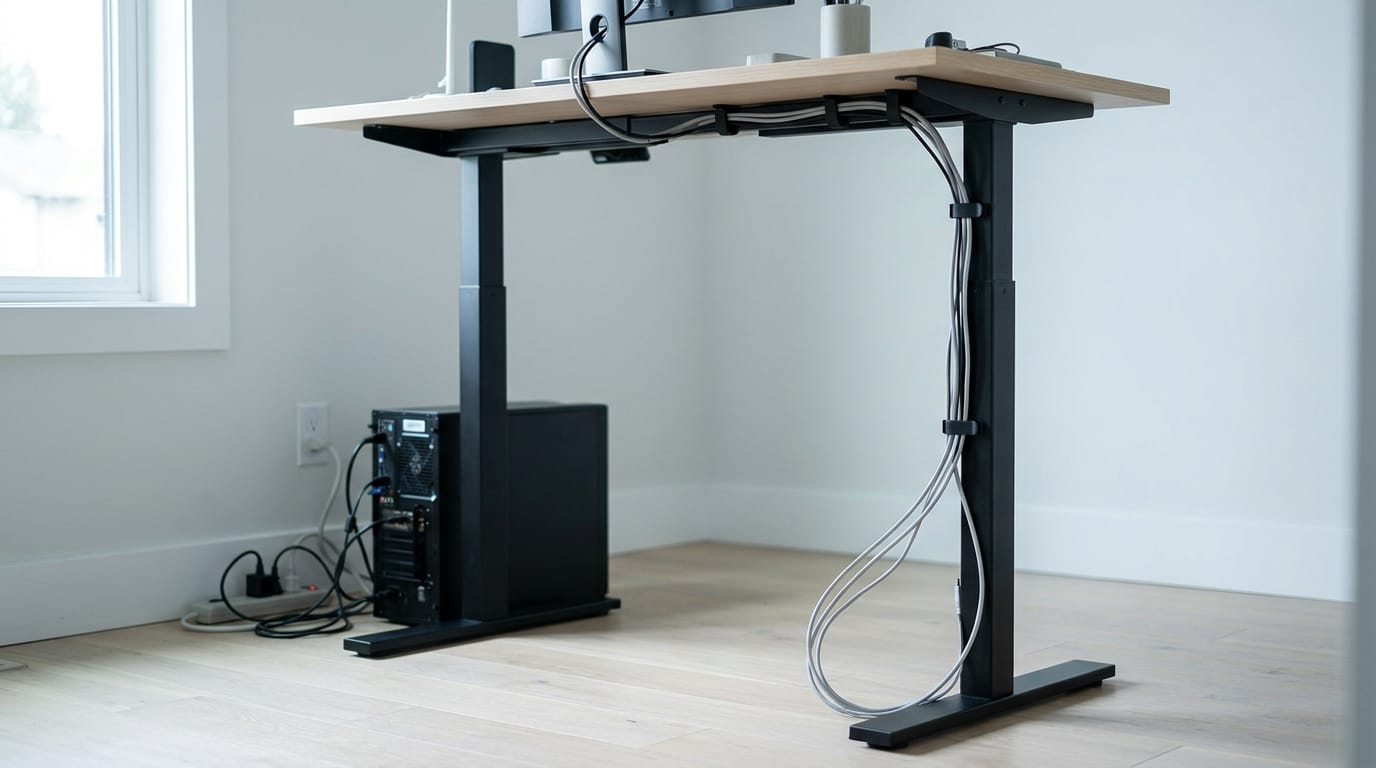
Cable management for a standing desk is the way you route, bundle, and secure cords so they stay tidy as the desk moves between sitting and standing height. Plan cable paths around your devices, use trays, reusable ties, clips, or sleeves where useful, and leave enough slack for every cord to travel without snagging or pulling loose. The right setup keeps cables off the floor, protects connections, and makes the desk safer and easier to use at every height.
Think about the last time you raised your standing desk and a cord pulled tight behind it. Maybe the monitor wobbled or your mouse slid off the pad. That’s when cable management stops being a tidy-desk hobby and becomes a daily problem.
The fix doesn’t have to be complicated. Plan for movement, leave enough slack in every cord, and bundle everything with hardware made for the job.
Here, we’ll cover planning, core hardware, bundling, room to move, and costs, plus what gaming rigs with several peripherals need, with prices in Canadian dollars.
Planning Cable Management for Your Standing Desk
Before you buy a tray or a box of ties, take stock of your desk. A standing desk adds one twist: it rises and falls, so every cable needs slack to move with it.
List every device and cable you have
- Monitors and laptops. Count every screen and laptop, since each one adds cables.
- Computer case location. Note whether the tower sits on the floor or beside the desk.
- Speakers and microphone cables. Easy to forget, but they share your routes.
- Power strip placement. Decide where the strip goes first.
- Cable length. Measure each run and leave a little slack.
- Gaming PC (personal computer) tower cable reach. Check that its cables reach without pulling tight.
Think of a player with two monitors and a tower on the floor. Listing everything shows they need a strip on the desk, not one outlet behind the tower.
Pick a solution that fits your setup
Start simple with a cable tray (a channel under the desk), Velcro straps, and a cable sleeve (a wrap that bundles cables). Then tailor it:
- Frequent gear swaps: Choose reusable ties you can undo without cutting.
- Compact setups: A slim tray keeps the underside clear.
- Multi-monitor setups: You’ll need more capacity than one screen does.
- Routing consistency beats premium gear. Where a cable runs matters more than what it’s made of.
A player who swaps between a console and a gaming PC can unhook the monitor cables without cutting anything. Pick one route and stick to it.
Cut cable count at the source
- Wireless keyboard and mouse. Going wireless takes two cables off the desk for good.
- Desk placement near outlet. Position the desk so cords reach without stretching.
- Secure PC under desk. Keep the tower stable so its cables don’t tug when the desk moves.
- Label cable ends. Tag each end so you can trace it in seconds.
The goal is fewer cables, not just tidier ones.
Buying tips and common mistakes
- Reusability and mounting method. Check how well it reuses and how it mounts.
- Choose by workflow, not features. Pick what fits how you play, not the longest spec list.
- Ignoring desk size and ports. A tray that’s too wide or blocks your ports creates new problems.
- Upgrading too much at once. Change one thing, live with it, then decide what’s next.
Start small, and you’ll always know what’s working.
Core Hardware for Cable Management
Clutter tends to gather in three spots: under the desktop, down the legs, and across the floor, so we’ll cover each.
Use trays and boxes under the desk
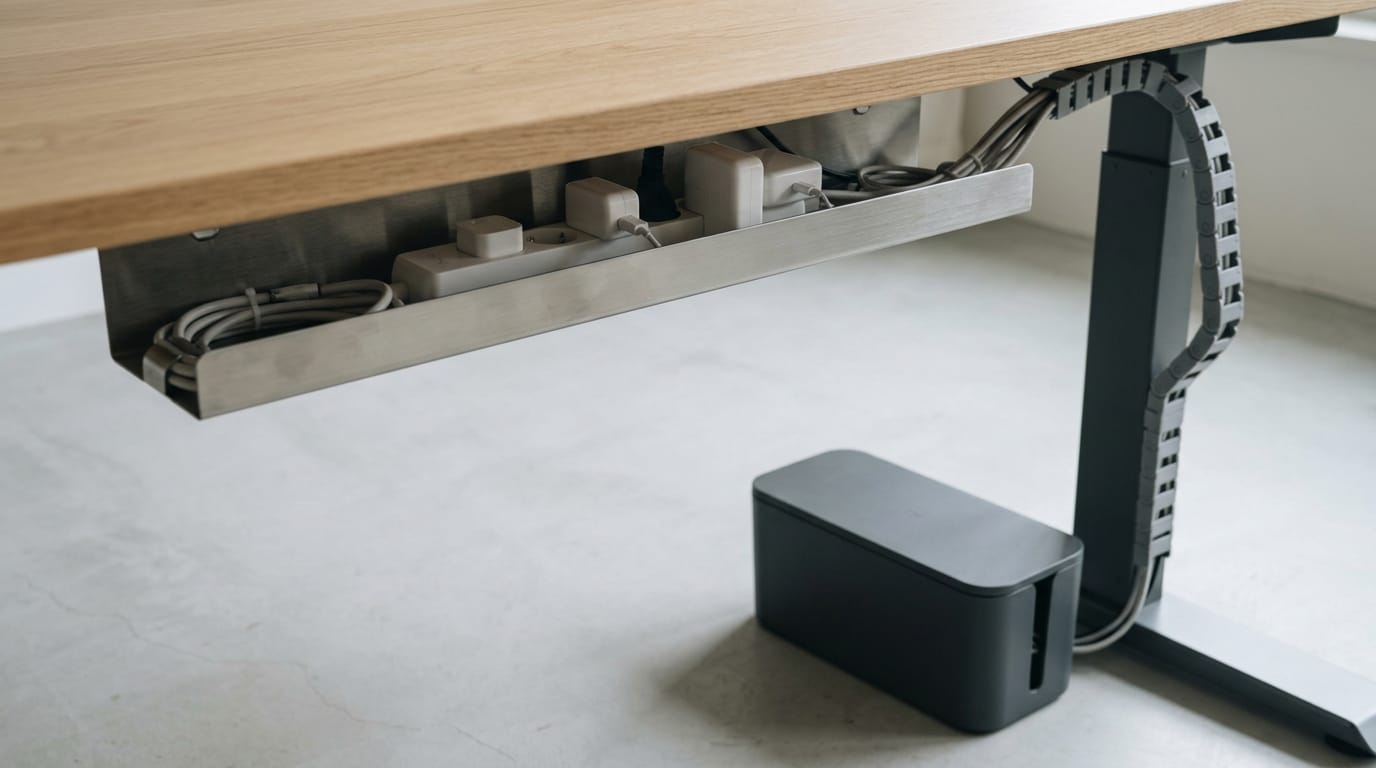
A cable tray mounts under the desktop and hides the strip and bulky power adapters, called bricks. Metal trays are sturdy: screw or clamp them underneath, and make it wide enough for the bricks, not just the strip.
A closed cable box contains extra cord and keeps dust off the plugs. For cords that move with the desk, cable chains (flexible segments that bend as the desk rises) or cable snakes (flexible sleeves for bundles) keep things tidy.
Grommets and built-in power options
A grommet is the round hole in the desktop that lets cables pass through. Built-in USB (Universal Serial Bus) ports and power outlets are convenient, but they’re usually an optional extra, so check before you buy.
Retrofitting with a hole saw (a bit that cuts a clean round hole) is permanent, so measure twice and check the frame.
Hide cable drops with spines and raceways
A spine is a vertical channel down the desk leg that hides cables as they run to the floor. An open-sided raceway has a slot along one side, so you press cables in instead of threading them through.
The goal is to hide the drop, the vertical run where cables leave the desktop, not just the cables themselves. Match the spine’s color to the frame so it blends in, and give power and data their own channels: one power, one data spine.
Mount power strips to clear the floor
Floor-level sprawl is where cables get kicked and snagged. Lift the strip off the floor with a desk-mounted power rail, a strip mounted under the desk. Think of a gamer with a tower, two monitors, speakers, and a microphone plugged into one strip.
Mounted there, the strip stays out of the way as the desk rises. Nothing snags.
Before you mount it, check three things:
- Total load: add up everything on the strip, from the tower to the monitors.
- Surge protection: look for it on the label, since it guards against voltage spikes.
- Cable length: pick the shortest cord that still reaches the wall.
Monitor arms that hide the cables
A monitor arm clears the desktop, and you route the cables inside it so they run from the monitor to the desk out of sight. With two monitors, run both sets through the same arm so there’s only one drop to hide.
Check desktop thickness and frame compatibility first: the clamp has to fit the desktop, and the frame has to take the mount.
Finally, check weight and VESA (Video Electronics Standards Association) fit: the arm must match the standard hole pattern on the back of your monitor and carry its weight.
Keeping Cables Bundled and Protected
Keeping cables in place as the desk rises and falls is the harder job. Here’s how to hold, bundle, and protect them.
Clips and tape that hold cables down
Clips come in three main types:
- Adhesive clips stick to the desk’s underside or back edge.
- Magnetic clips grip a metal frame.
- Screw-in clips hold firmly but need a drill.
Think of a gamer whose headset and mouse cables snag each time the desk climbs. Clips along the back edge keep them moving together.
For a quick hold, double-sided tape under the desk keeps a run flat. Test a hidden spot first, since some finishes don’t take adhesive well. Expect to reapply when the tape lets go.
If you rent, rental-safe clamps attach without drilling, so there’s nothing to patch when you move out.
Tie up loose cables with Velcro straps
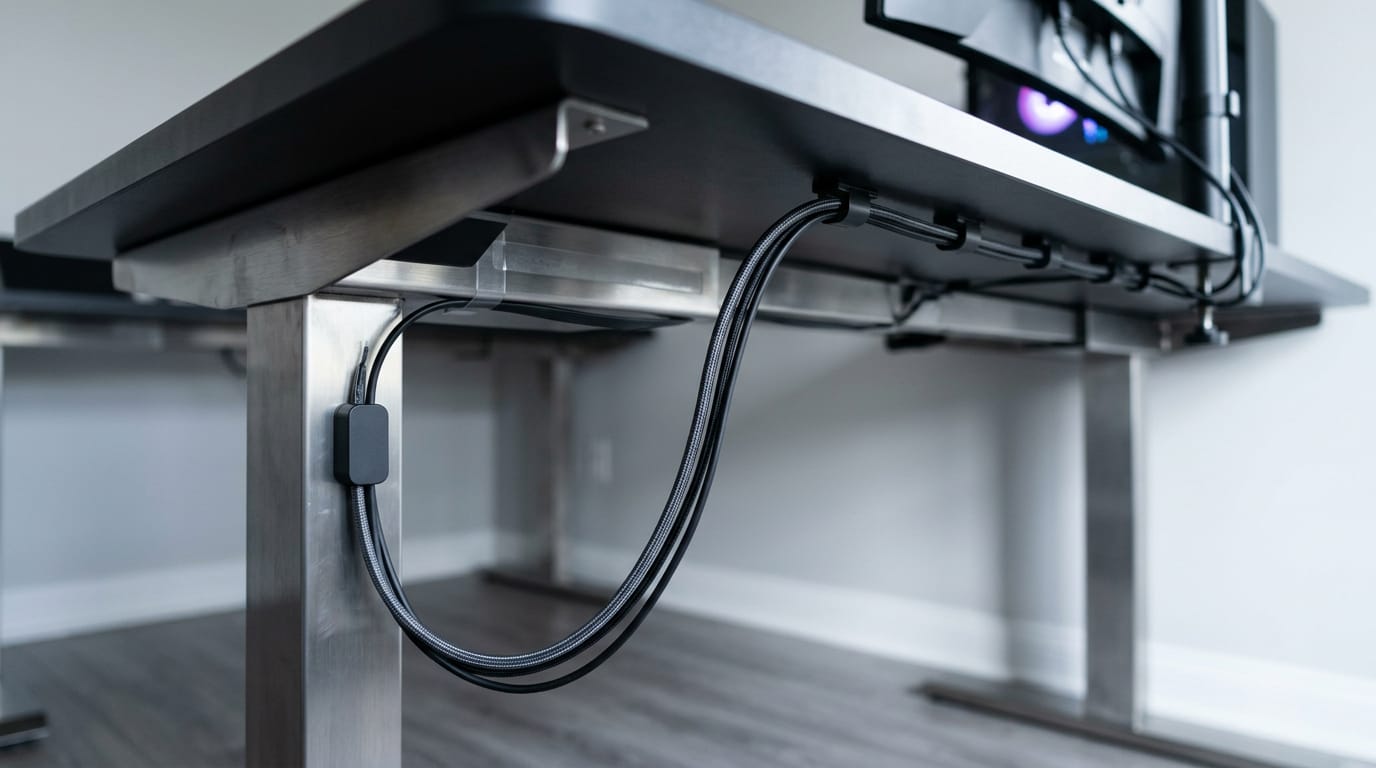
Reach for reusable hook-and-loop straps (Velcro-style) instead of plastic zip ties, which you have to cut to undo. Strap several cables together, such as charging, keyboard, and monitor cables, loosely enough that they can slide.
Have a long, loose cable? Loop the extra length and strap it, so nothing drags.
Wrap several cables in a sleeve
A cable sleeve groups cables into one bundle and guards them against wear where they rub a desk leg or edge. Choose:
- neoprene for flexibility
- fabric for a softer look
- mesh if you want to see inside
Don’t cinch the sleeve too tightly, or the cables can’t move as the desk rises.
Sleeves have limited use for visible desktop cables: they earn their keep under the desk, not on top of it.
Magnetic, retractable, and adjustable cable options
Repositionable magnetic anchors stick to metal and move whenever your setup changes. Park a quick-access charging cable in one so your controller or phone stays in reach.
A retractable cord reel lets you extend a frequently used cord, then roll it back. Flexible channels bend to follow a desk frame or leg as the layout shifts.
Consider a player with a USB (Universal Serial Bus) hub mounted near the desk edge. Their headset plugs into it, so adjusting volume mid-match never means crawling under the desk. Less reaching. Fewer snags.
Leave Room for the Desk to Move
Your desk changes height every time you switch between sitting and standing, so your cables need room to move with it. Cable slack is the extra length that lets a cable travel without pulling tight.
Leave slack in every cable loop
Leave enough extra length for the cable to travel from the lowest desk height to the highest. Aim for 24 to 30 inches at the drop, where cables leave the desk. Route each loop behind the frame to keep it out of the way.
You want enough slack, not a pile on the floor. Avoid over-tightening cables: a taut cable has no give, and that’s when plugs start to wiggle loose.
Test your setup and adjust it
Before you tighten anything, raise and lower the desk slowly. Watch each cable as it moves. If one goes taut, it’s too short. If it piles up on the floor, it’s too long.
Picture a gamer who lowers the desk after a standing session: the monitor cable slides with it instead of yanking its port loose. Cables shift over time, so recheck the setup periodically.
Stop cables from pulling and tangling
Standing height is where cables tend to pull free of their ports. When the desk rises, the gap to the floor grows, so any cable running down to the PC or outlet has to stretch across it.
Cables dragging on the floor can catch under the frame, and cables along the frame can snag and tangle as it moves. Motor and controller cables are no different, so give them the same slack and keep them clear of moving parts.
Benefits, Costs, and Practical Tips
Cable management is less about looks and more about how you use your desk. Here’s what we’ll look at: what it’s worth, what it costs in CAD, and how to install it.
Why tidy cables are worth it
Clean routing pays off in five ways:
- Safety. Fewer trip hazards from cords on the floor.
- Ergonomics and space. Cables out of your path mean more room to move.
- Productivity and focus. In a study on desk organization and task efficiency, first-year civil engineering students finished a puzzle faster at an organized desk than at a disorganized one.
- A cleaner look. Fewer visible cords make a minimalist setup feel calmer.
- Protection. Cables off the floor are less likely to get pinched or stepped on.
Consider a gamer whose monitor, headset, mouse, and keyboard all run into one tower under a standing desk. Every time they raise the desk, a cord snags, and they crawl underneath before game night. Mounting one tray fixes it. One evening’s work.
Typical prices and tax deduction tips
Cable trays run about $40 to $80, monitor arms $100 to $300, and grommets (the rings that line holes in the desk) about $80. Compare these in CAD at Canadian stores before you buy.
If you use the desk for work, these costs can be tax deductible. Save your receipts and confirm the current rules with a tax professional.
Tools you need and how to install
You’ll need just two basics:
- Screwdriver or drill for mounting trays and grommets.
- Scissors or wire cutters for trimming ties and loose ends.
For a quick tray install, mount it under the desk first, then lay in your cords and clip them down. Keep power strips where air can move around them, not wedged tight inside a tray.
Common questions and key terms
A cable management system is the full setup of trays, grommets, and other parts that routes your cords neatly.
Check the product listing to see whether your desk already has grommets before you buy a set. Do you need a full kit? Not necessarily. One tray may cover a small setup, while a full system suits several peripherals.
For the best organizer, choose one that fits your desk’s frame and the number of cords you run. Measure the underside first.
A clean standing desk comes down to a few habits: plan the route before you run a single cord, choose hardware that keeps everything bundled and protected, and leave room for the desk to move. Get those right and your setup stays tidy at every height.
Gaming rigs with several peripherals just raise the stakes a little. Set your budget in Canadian dollars first, then build the cable setup around it.
Plan once, and your desk can rise and fall all day without a single cord getting in your way.
References
Sources
Free · The Build Sheet
The Build Sheet: three gaming PCs priced at Canadian stores