How to Change the PC Name on Windows 10 and 11
How to change your PC name in Windows 10 or 11: compare Settings, System Properties, and PowerShell, plus know when a restart or admin rights are needed.

A PC name is the label Windows uses to identify your computer to other devices on a network, separate from the name of your user account. You can change it in Windows Settings, System Properties, or with an administrator-run script; choose a clear name that follows Windows naming rules, and restart the PC for the change to take effect. A recognizable name makes it easier to identify the right device, while work or school computers may need approval from the network administrator.
Think of your PC’s name like the label on a mailbox. It’s how your home network and some game lobbies tell one machine from another, so a clear name saves you real headaches. Changing it is simpler than most people expect.
In this post we’ll walk through every way to rename a PC on Windows 10 and 11, from the Settings app to System Properties and PowerShell. We’ll also cover the restart step, when you’ll need admin rights, and what to do when a name just won’t change.
How to Change the PC Name
Your computer name is the label every other device on your home network sees, so it’s worth choosing one you’ll actually recognize. Here’s why a good name matters and how to pick one.
Why a computer name helps on networks
Windows gives your PC a name during setup, and that auto-assigned default is hard to remember. A custom name gives your PC a unique network identifier, so you can spot it on the network whenever you need to.
Think of a player with a gaming tower in the den and a spare laptop upstairs. Both sit on the router under default names, so the device list reads like two random codes. Rename the tower to mayaPC and you’ll recognize your rig on the router at a glance.
Naming patterns and character limits
A few patterns work well:
- Use your account username. Matching your login name takes no extra thought.
- Campus prefix plus username. Put your campus prefix in front of your username so it’s clear whose machine it is.
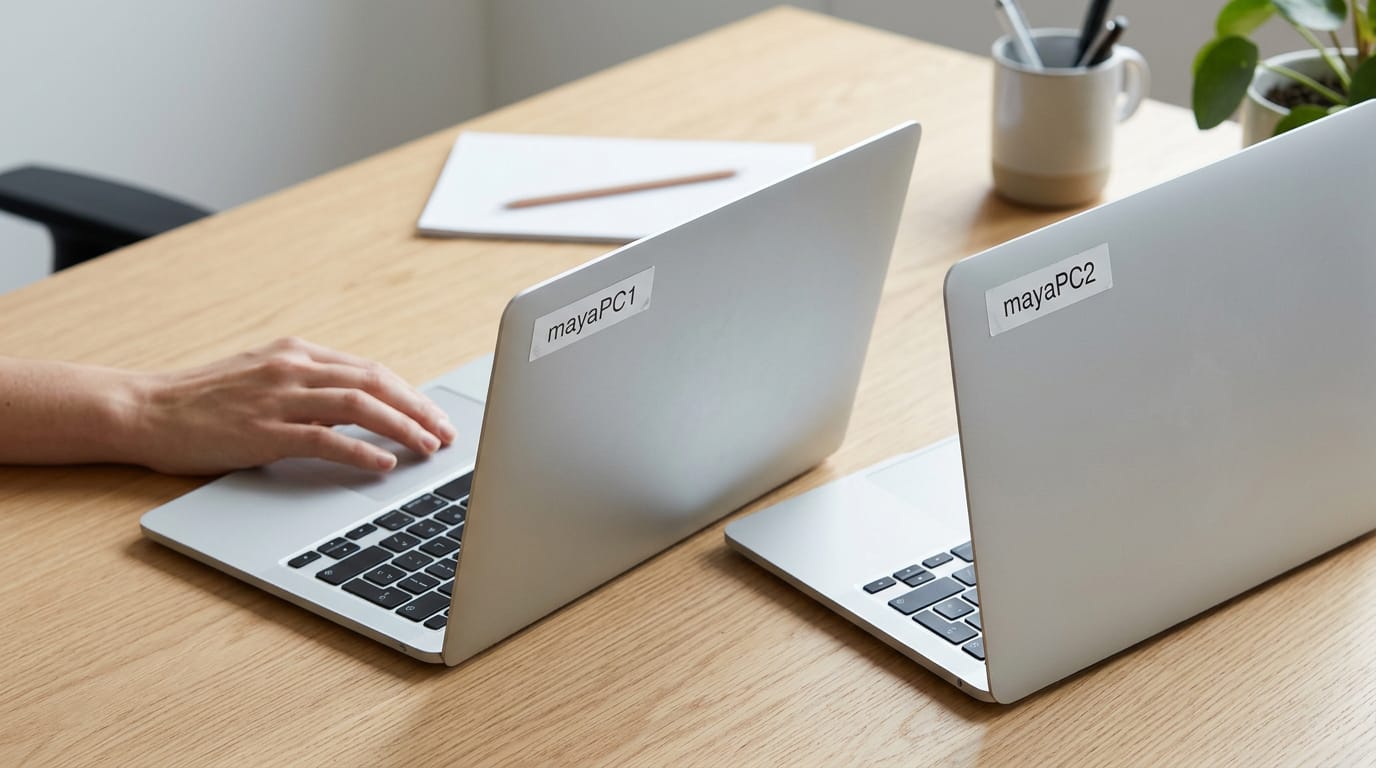
- Add a digit for multiple computers. Two machines under one username? Add a number, like mayaPC1 and mayaPC2, so they don’t blur together.
- Username-based PC names. Pairing your username with PC, like mayaPC, is the easiest pattern to remember.
- Departmental naming guidelines. On a work or school network, follow your department’s guideline so support staff can find your machine quickly.
Windows enforces rules on which characters you can use and how long a name can be, so check those before you type. Choose a name that’s recognizable rather than clever. Plain wins.
Rename Your PC in Windows Settings
Does changing your PC name affect anything? Mostly, it changes how your PC appears on your home network and to other devices, not what it does. Here’s how to change it in Windows 11 and Windows 10:
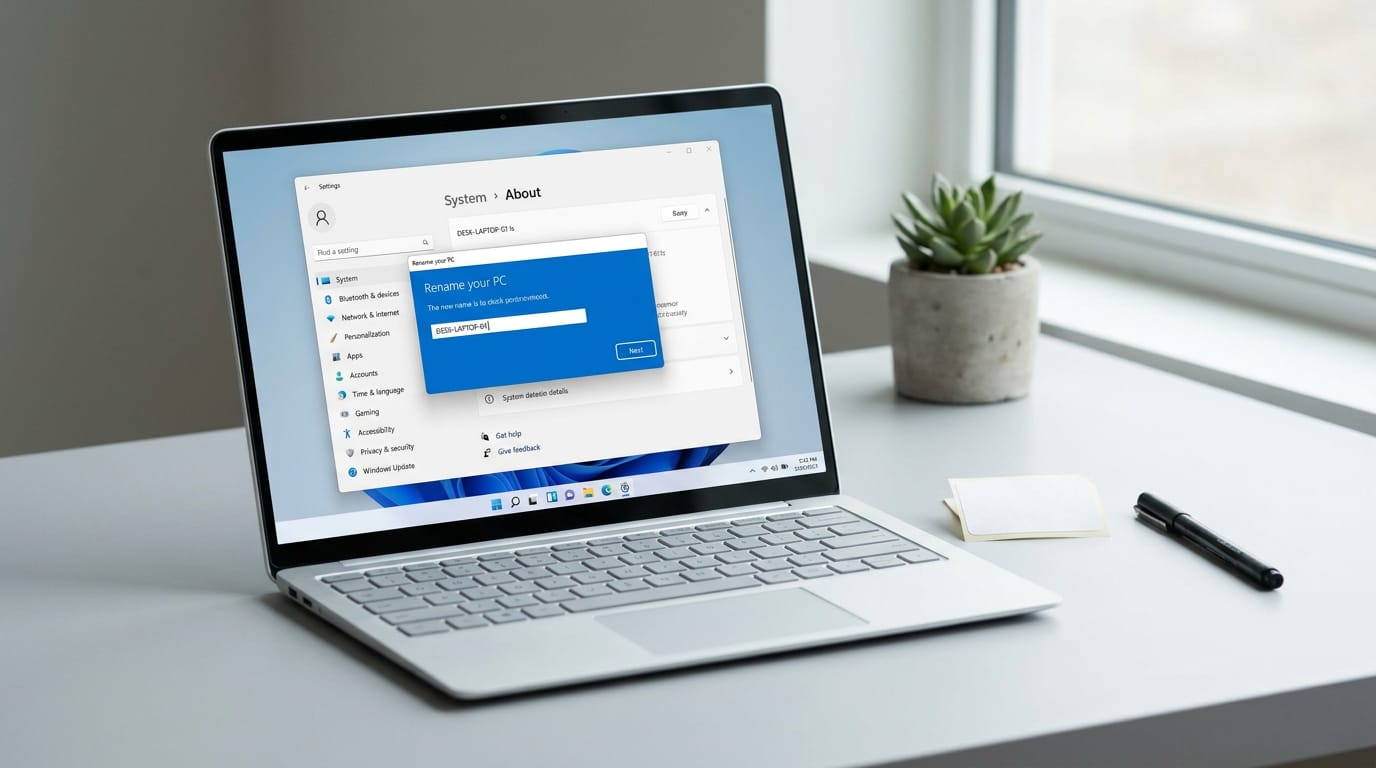
Rename this PC on Windows 11
- Press Win+X and select System.
- Click Rename this PC.
- If Windows asks for admin credentials, enter them.
- Type your new name and continue.
- Choose to restart now or later. The new name only takes effect after a restart.
If you’re setting up a fresh build, rename it right after Windows is installed, before you sign into your launchers and game accounts. Think of a gamer sharing a home network with a roommate who also games.
If both PCs still carry vague default names, figuring out which box is yours becomes guesswork. Naming yours something like Kira-Rig on day one settles it at a glance.
Using the Settings app on Windows 10
- Press Win+X or right-click the Start button.
- Open System.
- Under device specs, click Rename this PC.
- Enter your name, then click Next.
- Restart your computer.
Once you restart, your new name is live. That’s it.
Change the PC Name the Classic Way
Windows still lets you rename your PC through the older System Properties window. Here’s how to do it, restart, and fix the common snags.
Find System Properties in Windows
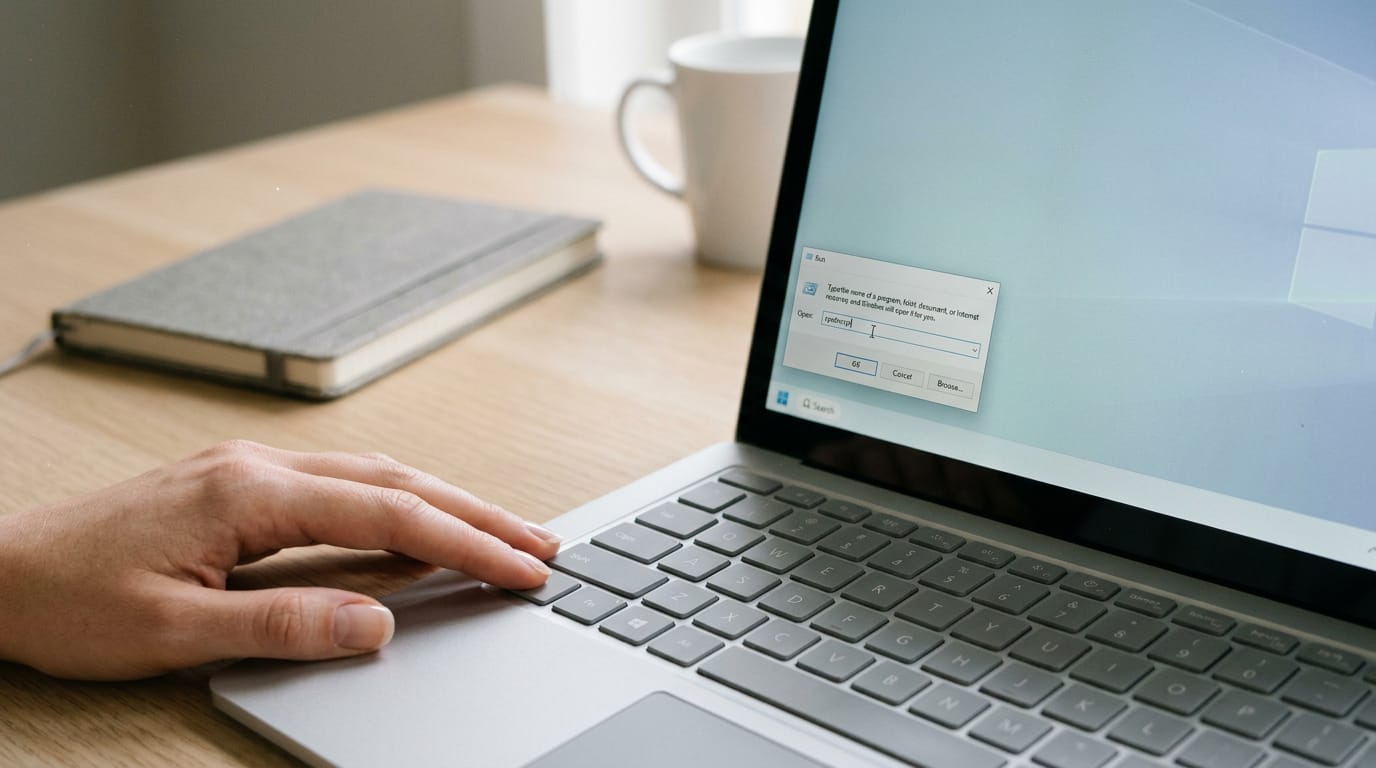
Press Windows + R, type sysdm.cpl, and press Enter to open System Properties in one step. Prefer Control Panel? Open it, click the System icon, then click the Change settings link.
If you don’t see System, switch the view to large or small icons so it’s easy to spot.
Enter a new name and restart
On the Computer Name tab, click the Change button. Type your new computer name, such as LivingRoom-Rig, then confirm with OK twice. Windows asks you to restart because the new name takes effect only after a restart, not the moment you click OK.
Think of a gamer setting up a couch-side rig. Naming it LivingRoom-Rig makes it easy to tell apart from the laptop on the desk, and one restart locks it in.
If the name still looks old after you restart, reopen System Properties and check what’s listed there. Usually the restart was skipped, or the change never saved because the account lacked administrator rights.
Repeat the steps as an administrator and restart again.
Which Windows versions this works on
This method works on Windows 7 and 8, and it still works on Windows 10. If you’re on Windows 8.x, the steps follow the same route, so the walkthrough above applies.
Why can’t I rename my PC anymore?
Usually it’s a permissions issue. Renaming a PC requires administrative rights, so a standard account can’t finish the change.
If the Change button is greyed out or missing, that’s your sign: sign out, log in as an administrator, then repeat the steps above.
Think of a parent whose kid uses a standard account on the family PC. The parent signs in as an administrator, renames the machine to FamilyRig-Lounge, and the kid’s account stays exactly as it was.
Changing the administrator account name is a separate job. Your computer name labels the PC itself, while the account name is what you type at sign-in.
Renaming one doesn’t rename the other, so use the user accounts settings to change the administrator name.

Renaming with Scripts and Remote Tools
Settings works fine for one PC you can sit in front of. Scripts and remote tools handle the rest.
Rename with PowerShell or the command line
PowerShell, Windows’ built-in command tool, handles a rename in one short script. Open it as an administrator, since renaming needs admin rights, enter the new name, and restart. Nothing changes until you do.
The older WMIC (Windows Management Instrumentation Command-line) tool can rename a PC too, through its computersystem rename option. A script can also build the name from the %USERNAME% variable, which holds your signed-in account name.
Use scripts for consistency across machines rather than one-off clicks.
Renaming remote and domain computers
Remote tools let you rename a PC from another machine on the network, if you have the rights. That saves a trip to the spare room.
If the PC was built with the Microsoft Deployment Toolkit (MDT), a tool for installing Windows on many machines, check its task sequence, which is the saved list of steps MDT runs.
A sequence that reuses the old name can quietly bring that name back after a rebuild, so fix it first.
A domain-joined PC belongs to a managed network, usually at work or school. Renaming one means coordinating with whoever runs that network. Check before you change anything.
Label your PC without renaming it
The Computer description field in System Properties holds a plain-language label, so you can mark a PC without touching its name. A label tells people what a PC is for, while a rename changes what the network calls it.
Think of a gamer who’s got a main desktop, a kid’s PC, and a streaming box, all still on default names. Adding “Kid’s gaming PC” and “Stream rig” as descriptions tells the house which is which, and the network name stays put.
Once you’ve picked a name and restarted, your PC is ready to show up the way you want on your home network and in the apps that display it. Choose something you’ll recognize at a glance, especially if you share a network with family or roommates.
A few minutes of setup now means less guesswork later. A clear name is a small detail, but it’s the kind that keeps game night running smoothly.
Questions
How do I rename?
On Windows 11, press Win+X, select System, then choose Rename this PC. On Windows 10, open System from the Start menu and select Rename this PC under device specifications. Enter the new name, confirm, and restart for it to take effect.
How do I change the administrator name on my computer?
Changing the administrator account name is separate from renaming the computer. Use Windows account settings to change the administrator’s name; you may need to sign in with an administrator account to make the change.
How do I transfer everything from one computer to another?
Use a transfer method such as Windows Backup, OneDrive, an external drive, or a dedicated PC migration tool to move your files and settings. Install your applications on the new computer separately unless your migration tool specifically supports transferring them, and check that everything arrived before wiping the old PC.
Why is my PC name not changing?
The change may not have been saved, your account may lack administrator rights, or you may not have restarted. Sign in as an administrator, rename the PC again, and restart; then check the name in System Properties.
Does changing your PC name affect anything?
Changing your PC name mostly changes how it appears to other devices on your network and in apps that display the computer name. It does not change your user account name or files, but you need administrator rights to rename the PC and restart for the new name to take effect.
Free · The Build Sheet
The Build Sheet: three gaming PCs priced at Canadian stores