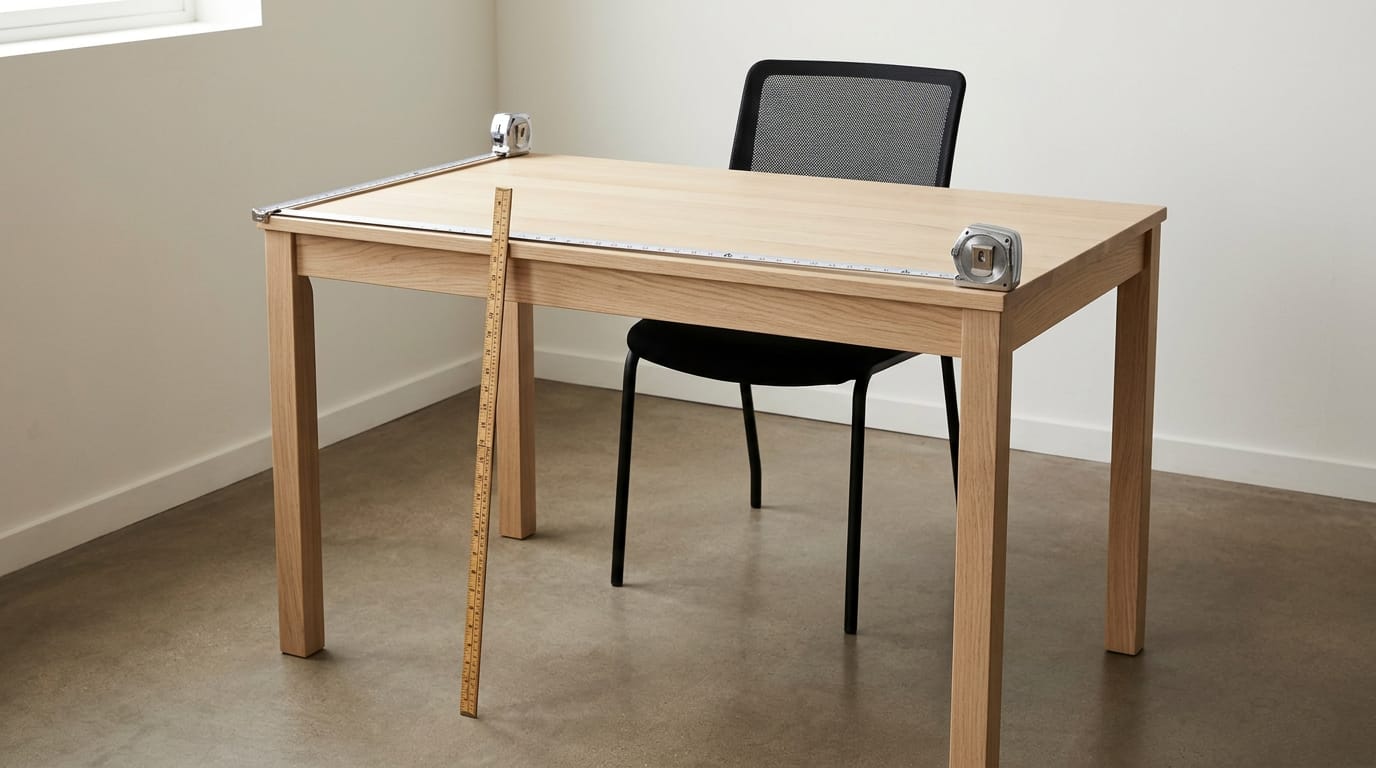
How to Build a Desk: Complete Step-by-Step Guide
How to build a desk from scratch with a clear plan: choose materials, cut each piece, assemble it step by step, and finish a sturdy workspace.

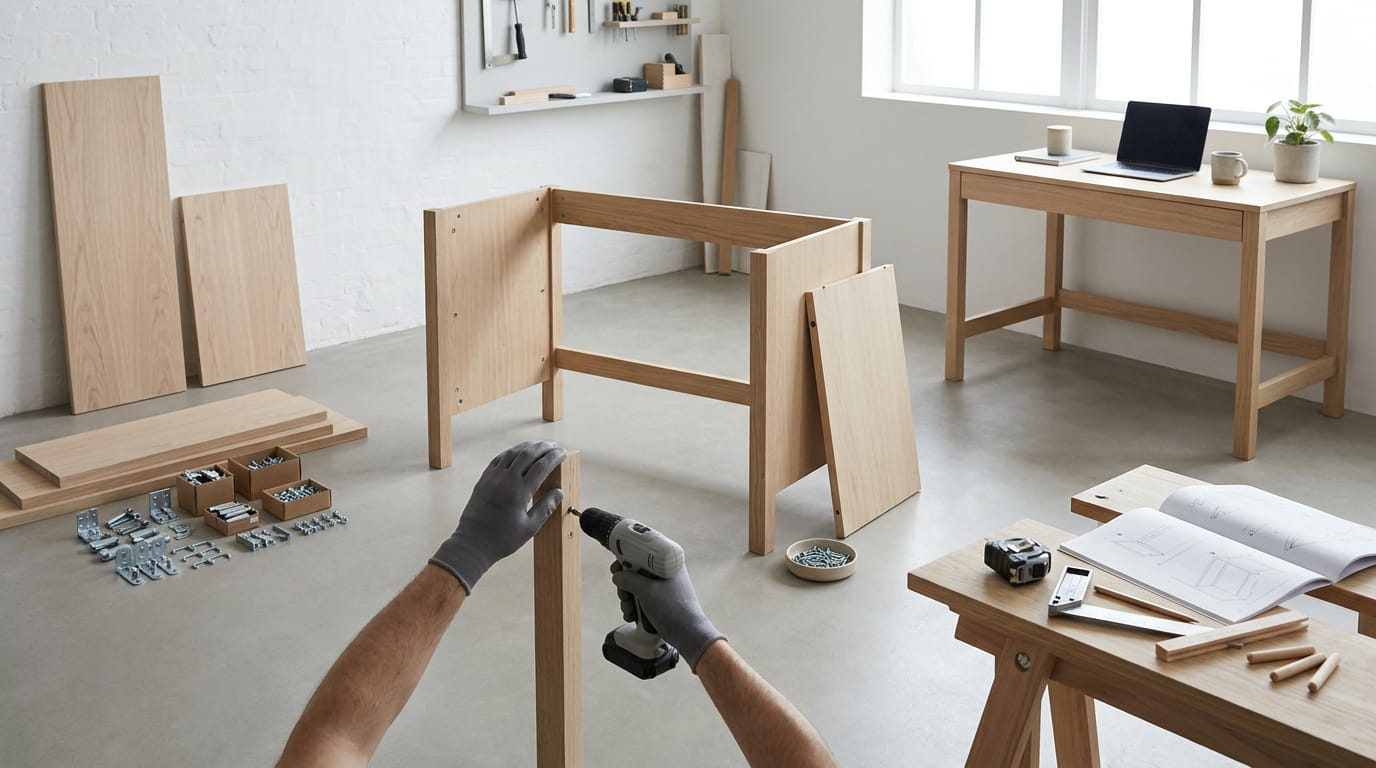
Building a desk means planning its size and purpose, then cutting, assembling, and finishing a tabletop and frame to suit your space and needs. Choose a cut list, cabinet-grade or birch plywood for the top, suitable lumber and fasteners, and reinforce the frame with braces and supports; sand and finish the pieces for comfort and durability. With careful measuring and safe tool use, this moderate beginner project can create a sturdy, ergonomic workspace with room for your equipment and tidy cable routing.
Ever tried assembling flat-pack furniture with a plan that fell apart halfway through? Building your own desk avoids that headache, and it’s more doable than you might think.
This guide covers the whole project, from planning and materials to cutting, assembly, and finishing. We also answer the big questions: what it costs, how hard it is, and which wood is worth the money.
Because you’ll spend long hours at this desk, we add a gamer-focused layer on monitor sizing, desk depth, and cable routing so your setup stays comfortable and clean.
Planning How to Build a Desk
Before you cut anything, plan what the desk is for, what it costs, and how big it should be.
Goals and style for your new desk
Most builders want one of these:
- Budget-friendly desk: a solid surface for less.
- Work-from-home setup: a spot for calls and email.
- Large modern dining-table style: a wide, clean top.
- Doubles as craft space: a surface you can clear after hours.
Gamers add one more goal: a desk built for long sessions. Pick a style that suits your room, but let your gear set the size. Beyond the style, home office ideas can help you plan layout, furniture, and lighting for the room.
Is building your own desk cheaper?
WoodWiki’s floating desk guide lists materials for plywood, hardware, and slides at $80 to $140, so expect the project to come in under $100 to $140. Compare that with a store-bought desk to see whether building saves you money.
How hard is it to build your own desk? It’s a moderate beginner project: expect an estimated 8 or more hours, but you don’t need years of woodworking.
Picking your plans and desk size
Here’s what to look for first:
- Printable PDF plans: a file you print at home (PDF means portable document format).
- Cut list included: every piece you need, with its size, so you’ll buy the right material once.
- Final desk size: choose it before you buy any wood.
Next, make it ergonomic, meaning it fits your body for hours. Set the height and depth so your wrists rest comfortably at the keyboard.
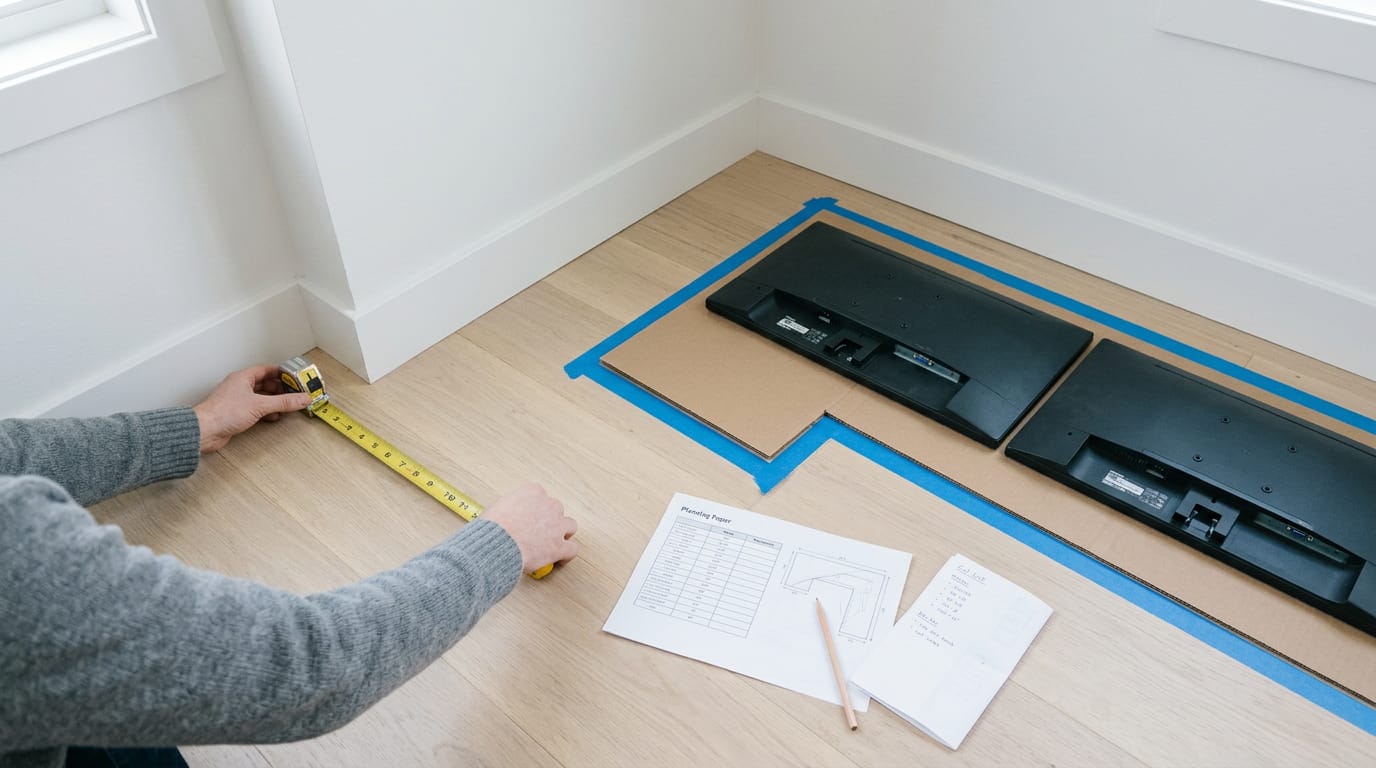
With dual monitors, think of a gamer with one screen for play and one for voice chat. Measure both screens side by side, add room for the keyboard, and the second screen never crowds the mouse. Get that width right.
Does a corner desk save space? Yes, it tucks into a room’s angle and frees up the middle of the floor. Measure the corner before you lock in the size.
Gather the Materials and Tools You Need
Get the list right before you cut anything, and you won’t be making a second trip to the hardware store halfway through. Here’s what we’d gather.
What wood is best for a desk?
The best wood for a desk top is cabinet-grade or birch plywood, because it stays flat and resists warping better than solid boards. Use 2x4 and 2x2 lumber for the frame and legs, and add 1x3 select pine trim to dress the front edge.
Think of a gamer who wants a desk that stays steady during a long raid night. A plywood top on a 2x4 frame gives them a surface that holds still when they lean in to aim.
Choosing screws, brackets, and glue
Pick each fastener for the job, not the one that’s cheapest.
- Angle brackets lock the frame corners and tie the top to the legs.
- Structural screws are made to carry load, while Kreg screws are designed for the angled pocket holes a Kreg jig drills.
- Spread wood glue on every joint before you fasten it, and use brad nails to hold trim in place while the glue sets.
The power and hand tools to use
A circular saw, table saw, or miter saw covers most cuts, so use whichever you already own. Measure twice, cut once. A drill or impact driver handles the screws, and a jigsaw cuts the notch that lets your monitor and PC cables run out of sight.
A sander smooths the surfaces, and a router with a roundover bit softens the top edges so they’re comfortable on your forearms. The Kreg jig is the guide that drills those angled pocket holes.
Protect yourself and gather finishing supplies
Saws and sanders are loud and throw dust, so wear safety glasses and ear protection from the first cut. Add a mask and gloves, especially when you’re sanding or staining.
Sand in stages: start with a coarse sandpaper grit to clear out marks, then step up to finer grits for a smooth finish. Apply stain with a cloth, and keep wiping cloths on hand to remove the excess before it sets.
Cut Every Piece to the Right Size
Accurate cuts make assembly easy. Here’s how to get each piece right, and when to let the store do the work.
Cut legs and supports, using boards efficiently
Start with your leg and support lengths, measured against the height you want. Write every piece on a cut list before you touch a board. You’re aiming for accurate cuts rather than fast ones.
Next, maximize cuts per board. Sketch a layout that uses the fewest boards. Think of a gamer who needs four legs and two supports from one length of stock. Sketching first can mean one board instead of two.
Cutting the plywood top cleanly
Match the method to your tools:
- Table saw for clean cuts. It gives the straightest edges, so use one if you have it.
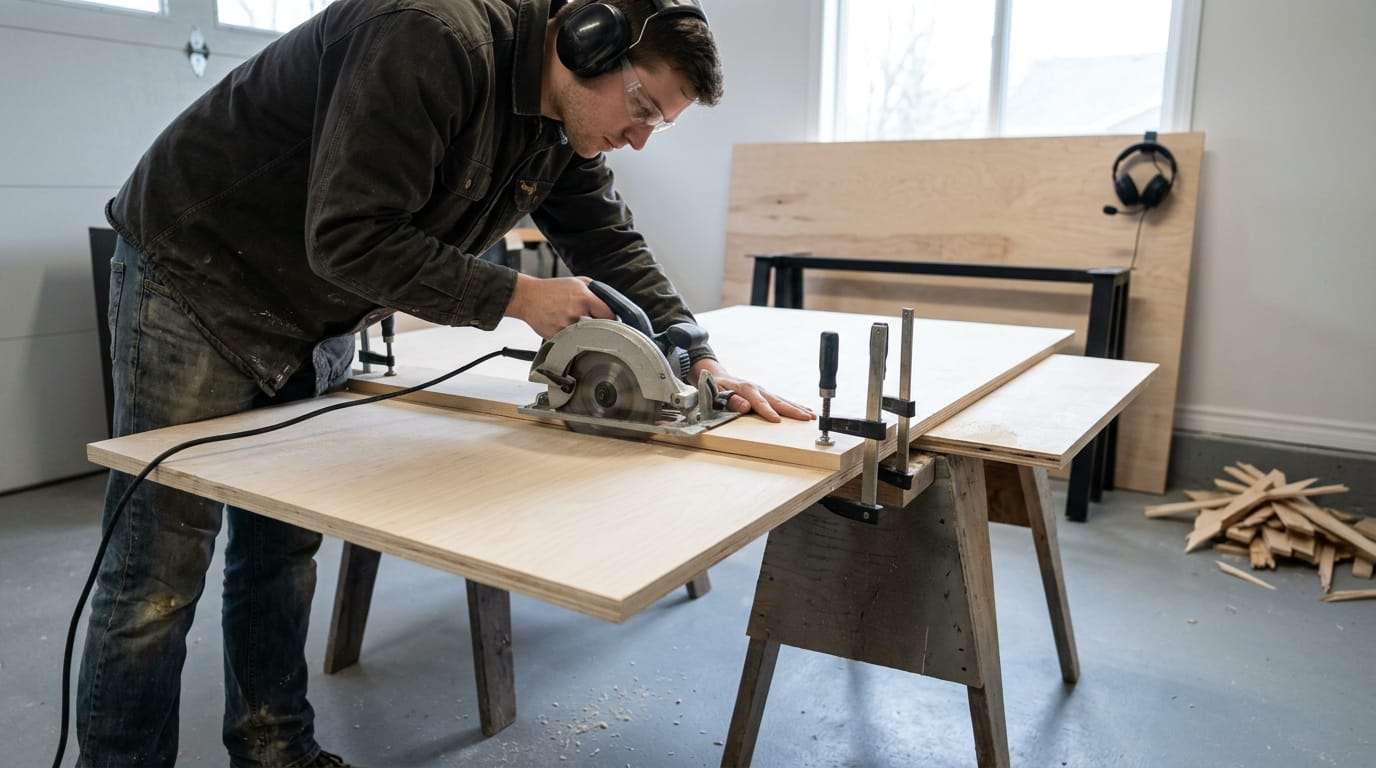
- Circular saw with guide. No table saw? Clamp a straight scrap board along your cut line and run the saw’s base against it so the blade follows your line.
- Support plywood while ripping. Ripping means cutting along the sheet’s length. Support both sides, or the sheet can sag and pinch the blade.
Think of a gamer building a wide top for a monitor and keyboard. A straight, clean edge lets it sit flush against the legs. Ragged edges show.
Let the store cut your lumber
Ask about store cuts: a home improvement store can cut boards for you at the counter, so you can skip the saw. Think of a gamer who needs two rough cuts on one sheet of plywood. Paying at the counter might be worth it.
Store cuts are often billed per cut, so ask staff for the total before you start. Small charges add up fast, so check it against your cut list.
Put the Desk Together Step by Step
Once the pieces are cut, assembly decides whether your desk stays put or rocks when you lean on it. Work in order and check each joint as you go.
Build the legs and top plate
Stand the legs upright and fix the top plate, the horizontal frame piece that runs under the tabletop, across them. Check each leg with a level. Set the bottom support low on the legs, clear of your knees and chair.
Drive more than one screw into every joint, since a single screw lets the joint pivot over time.
Attach the legs to the tabletop
Lay the tabletop face down on a clean floor with a moving blanket underneath. Flat first. A flat base keeps the frame square while you screw.
Space the legs evenly and set them back from the front edge (the setback) so your knees have room. Bring the frame flush with the back edge of the top, then fasten it with corner brackets or with glue and screws.
Drive each screw until the head sits snug, and don’t go further. Overdriving strips the threads and crushes the wood, so aim for snug rather than cranked down.
Stop the frame from wobbling or bowing
Run a back brace between the rear legs to stop the frame racking side to side. Add 2x2 stabilizers (the common square-section lumber sold at hardware stores) along the top to prevent bowing.
Fix underside cross supports across the tabletop to spread the load.
If your desk already wobbles, tighten every joint first, since it’s the quickest fix. Then add the back brace and cross supports.
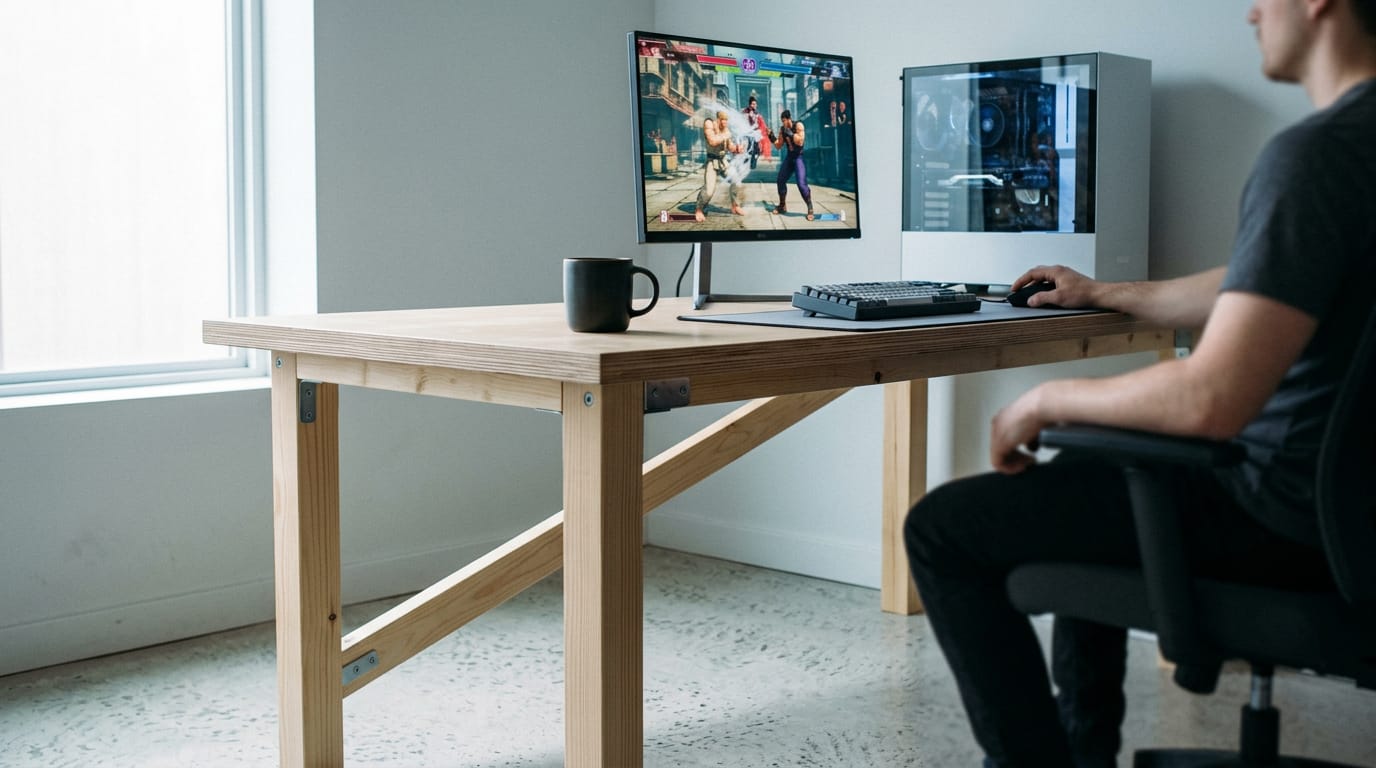
Think of a player with a tower PC on the desk whose monitor shakes every time a fight heats up. Those braces stop the sway, so the picture holds still when the action speeds up.
Fit shelves around the legs
Screw 2x2 shelf supports to the inside of the legs at your chosen height, so the shelf rests on solid lumber. If the shelf has to pass a leg, cut a notch with a jigsaw so it wraps around the leg.
Use a scrap 2x4 as a template: set it against the leg, trace around it onto the shelf, and cut on that line. Mark first, cut second.
Fastening joints without splitting the wood
Small stock, like a 2x2 or thin trim, splits when a screw goes straight in. Toe-screwing avoids that by driving the screw at an angle rather than straight in. Pre-drill a pilot hole, and back the screw out a turn if the grain starts to crack.
A pocket-hole jig, such as the Kreg jig, drills the angled holes for you. If you don’t have one, toe-screwing with a pilot hole gives a solid joint with just a drill and a driver.
Sand, Edge, and Finish the Desk
It’s easiest to finish before the desk goes together, so most of this work happens on the loose boards. Get the surfaces right here, and the final coat will look far more even.
Sand the wood and fill any holes
Sand every panel before assembly, while each face is flat and easy to reach. Work through the grit progression from coarse to fine, so each pass erases the last one’s scratches.
Fill nail holes, knots, and screw dimples with wood filler, let it dry, then sand it flush.
If you’re routing cables through the top, drill those grommet holes now and smooth the rims. Picture a gamer whose headset cable catches on a rough hole every time they grab the mouse. With smooth rims, nothing snags.
Round off and trim the edges
Edges take the most wear, since you’ll rest your forearms on them for hours. A router roundover softens the sharp corners in one pass, which is far kinder than a square lip. No router?
Iron-on edge banding is simpler: press the strip on with a household iron, then trim the overhang. For a thicker border, glue on a 1x2 trim strip along the front edge.
Choose between paint and stain
Stain shows the grain, while paint hides it, so decide what look you’re after first. Apply stain in thin coats, wipe off the excess, and let each coat dry before the next.
Paint needs a primer first so the color bonds evenly, then a light sanding between coats.
Whichever you choose, wear a protective mask and gloves, and keep the room ventilated. Don’t skip the gear.
You now know how to plan, gather materials, cut, assemble, and finish your desk. Along the way, you’ve seen what it costs, how hard it is, and which wood is worth it.
Your gaming needs shaped every choice, from monitor size and desk depth to cable routing, so the finished desk suits long sessions.
Build it once, build it right, and let your best games happen at a desk you made yourself.
References
- Building a Floating Desk With Drawers — woodwiki.org (2026)
Questions
What is the best wood to use to build a desk?
Cabinet-grade or birch plywood is a good choice for a desk top because it stays flat and resists warping better than solid boards. Use 2x4 and 2x2 lumber for the frame and legs, and consider select pine trim for the front edge.
What are some creative crafts I can make for my desk?
You can make useful desk crafts such as a pencil holder, a small organizer tray, a cable holder, or a desk shelf. Repurpose small wood offcuts, cardboard, or jars, and choose projects that help keep your work surface tidy.
How do I build a simple desk?
Start by choosing the desk’s size and writing a cut list. Cut a plywood top and lumber for the legs and supports, assemble and brace the frame, attach it to the top, then sand and finish the wood. Wear eye and ear protection when using power tools.
How hard is it to build your own desk?
Building a desk is a moderate beginner project. It typically takes an estimated eight or more hours, but you do not need years of woodworking experience if you plan carefully and follow safe tool practices.
How to make a corner desk from IKEA?
To make a corner desk using IKEA parts, measure the corner and choose a tabletop or combination of tabletops that fits. Support the top with compatible IKEA legs or drawer units, secure the pieces together, and check that the finished desk is level and stable; follow the assembly instructions for the specific products.
How to make a computer table at home?
Measure the space and plan the table’s height, depth, and width around your chair and computer equipment. Cut a plywood top and lumber for the legs and frame, assemble the frame with multiple screws at each joint, attach the top, and add bracing to prevent wobbling. Sand and finish the surfaces before use.
Is it cheaper to build my own desk?
It can be cheaper to build a desk, but the savings depend on the materials, hardware, tools, and store-bought desk you compare it with. A plywood-and-hardware project may cost roughly $80 to $140, so compare your full materials cost with the price of a suitable finished desk.
Does a corner desk save space?
Yes. A corner desk fits into the angle of a room and can free up the middle of the floor. Measure the corner first to make sure the desk fits without blocking doors, walkways, or other furniture.
Sources
- Building a Floating Desk With Drawers, woodwiki.org,
Free · The Build Sheet
The Build Sheet: three gaming PCs priced at Canadian stores