PS5 HDMI Repair Explained, From Fault to New Port
PS5 HDMI repair starts with confirming the port causes flickers or cutouts. Compare parts, DIY soldering, and Canadian repair costs with warranty tradeoffs.

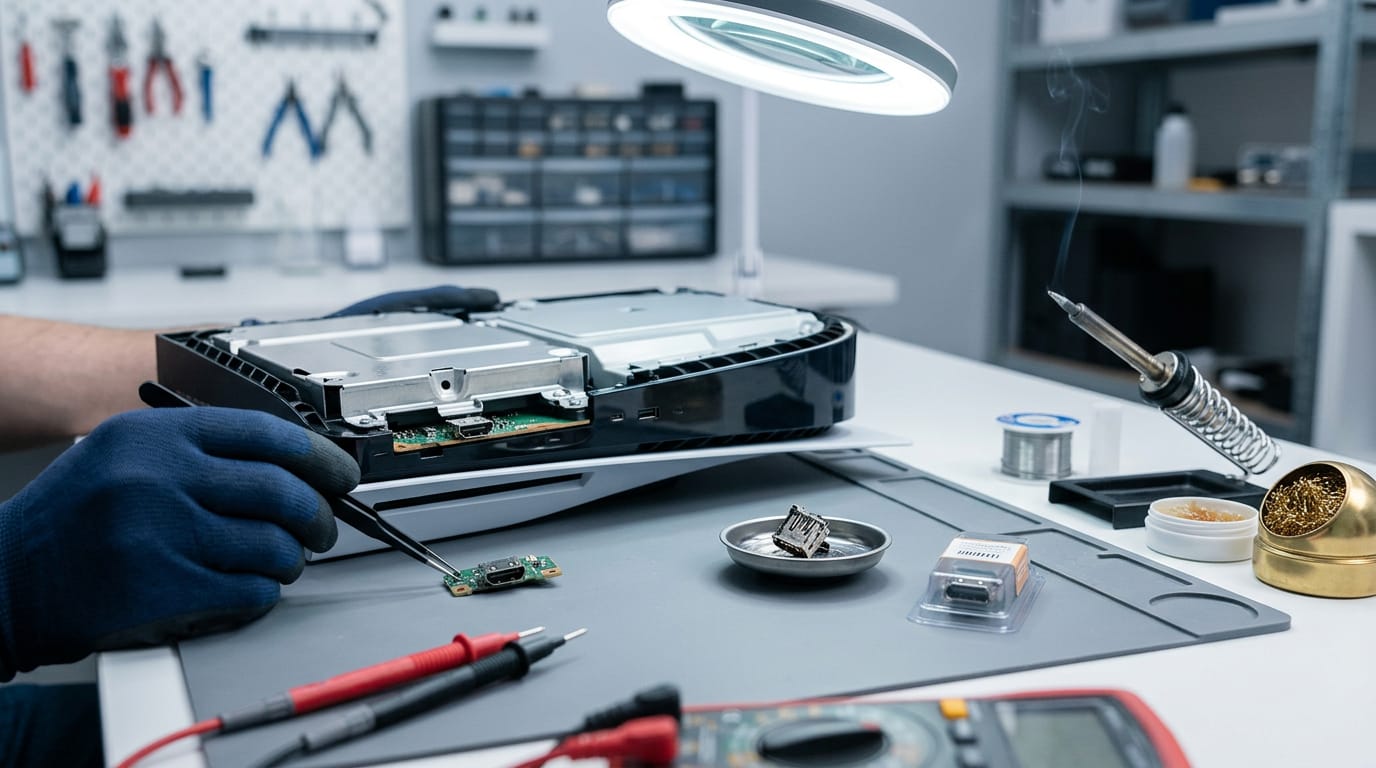
PS5 HDMI repair means diagnosing and replacing the console’s motherboard-mounted HDMI port when it no longer sends a reliable picture to a TV. First rule out the cable, TV, input, and software, then inspect the port and nearby components; replacing it requires careful board-level soldering, compatible parts, and the right tools. DIY may avoid a shop fee but risks further damage, so check warranty terms and compare your skills, time, and a written repair quote before deciding.
If your PS5 picture flickers or cuts out whenever someone bumps the cable, you’re not imagining things. Think of the HDMI port like a phone charging port that’s been used for years: it works fine until suddenly it doesn’t.
This guide walks you through the whole fix: confirming the port is really at fault, swapping it out, and picking the right parts.
You’ll also weigh re-soldering it yourself against a paid repair, with Canadian-dollar costs and warranty context along the way.
Find the Fault Before PS5 HDMI Repair
Before you reach for a soldering iron, find where the signal path breaks. We’ll start with the cheap checks: the cable, the TV, and the input.
Why does my TV show no signal?
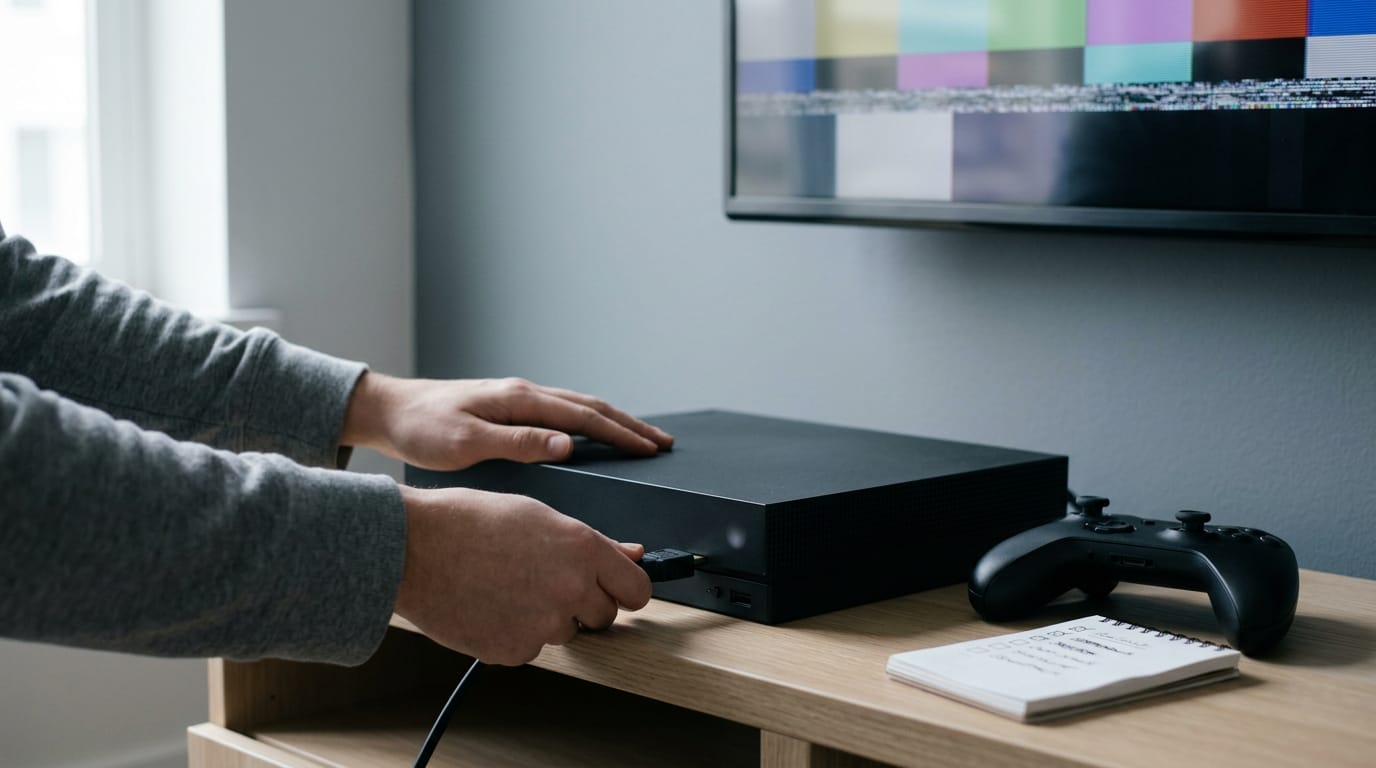
When your PS5 isn’t connecting to your TV, start by reading what the screen tells you:
- No picture on screen: Nothing reaches the display.
- TV detects connection: The input shows a source, so the cable and port are partly working.
- Console powers on, white light: Power is fine, so suspect the video output.
Bent or pressed-in pins and a dirty or corroded port can both block the signal. Look for pins that sit crooked or low.
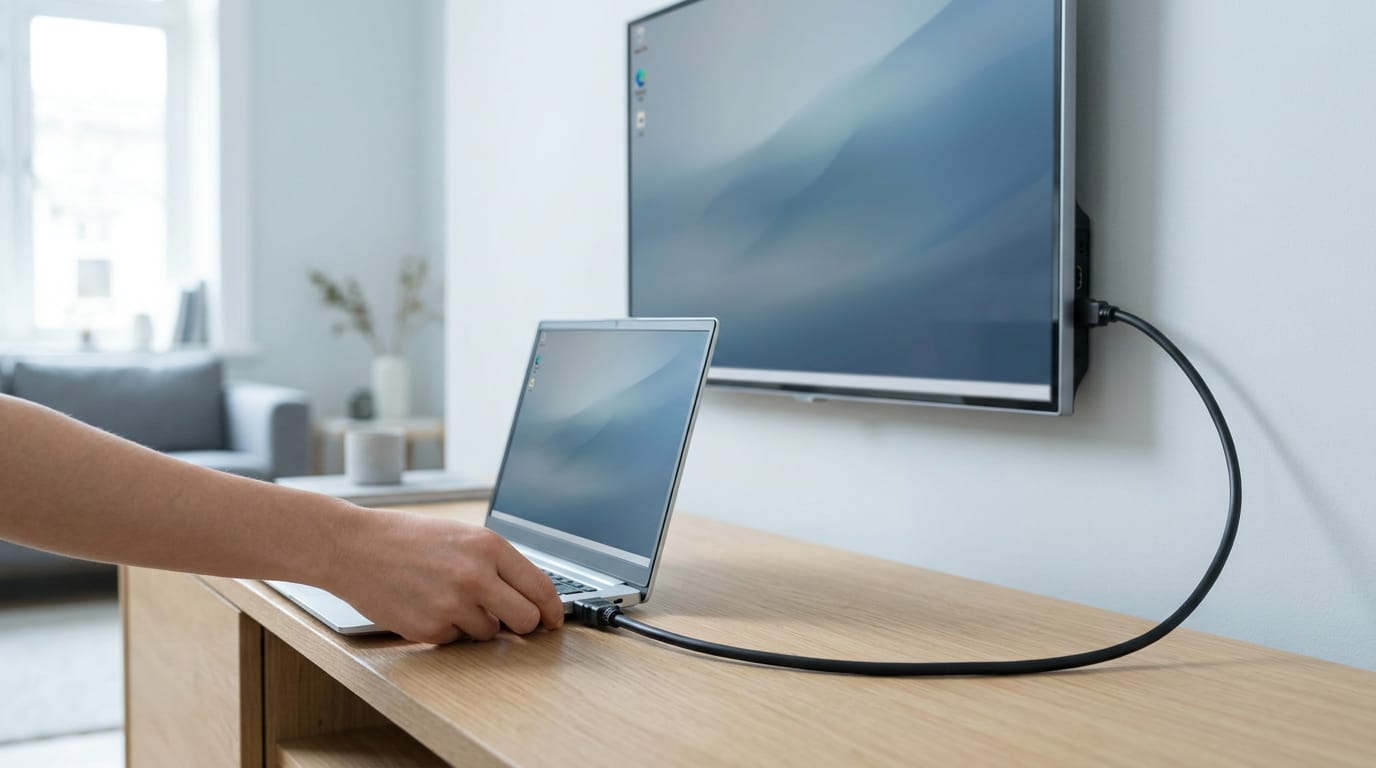
Test with another TV or a capture card. If the console shows up on the second screen, the original TV is the culprit. If not, suspect the port.
If your HDMI (High-Definition Multimedia Interface) is connected but shows no signal, that’s because a seated plug only proves the cable is in. Connected doesn’t mean working. Rule out the cable and TV by trying a cable you know works and another input.
Say a gamer named Marcus has his PS5 in the living room. When the screen goes dark, he swaps the cable, then changes the input. If the picture returns, he’s avoided a repair bill. Test the easy things first.
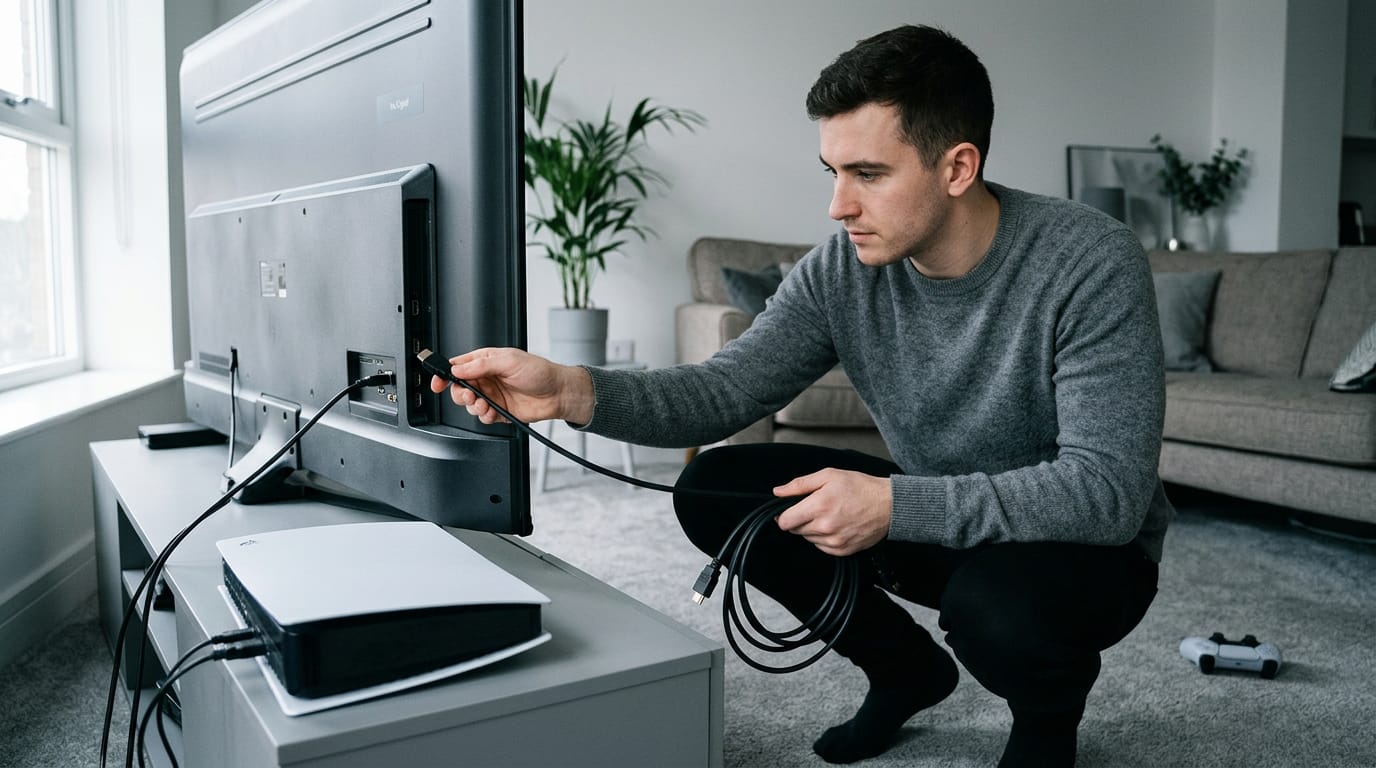
Troubleshooting steps to try
Work through these in order:
- Safe mode startup: Boot in safe mode and check for a picture, which helps rule out software.
- Testing pin continuity: Use a multimeter to confirm each pin has an unbroken path for current.
- Checking diode and capacitor: Look for burns or bulging near the port, and test them if you can.
- Verifying solder contact: Confirm each joint is fully attached, not cracked or lifted.
Swapping the HDMI Port for a New One
Replacing a worn port is the most hands-on fix here.
Can a PS5 HDMI port be fixed?
Yes, but on a PlayStation 5 (PS5) it’s board-level work. The HDMI port (High-Definition Multimedia Interface, the plug to your TV) is soldered to the motherboard, the console’s main circuit board. Expect four steps:
- Console disassembly: open the PS5 fully on a clear desk.
- Port soldered to motherboard: the old port must come off the board first.
- Soldering and board-level skills: you’ll need an iron and steady hands.
- Desolder old port, install new: melt the old joints, then solder the new one in.
We don’t have verified repair prices, so a written quote in Canadian dollars that covers labour is the only number to trust. DIY (do-it-yourself) skips the professional’s fee but adds risk.
Opening the console can void its warranty, so check Sony’s terms first.
Think of a player whose picture cuts out mid-match, with a free Saturday and a steady hand. DIY could save a shop bill, but one bad joint means starting over. It’s less about can you and more about should you.
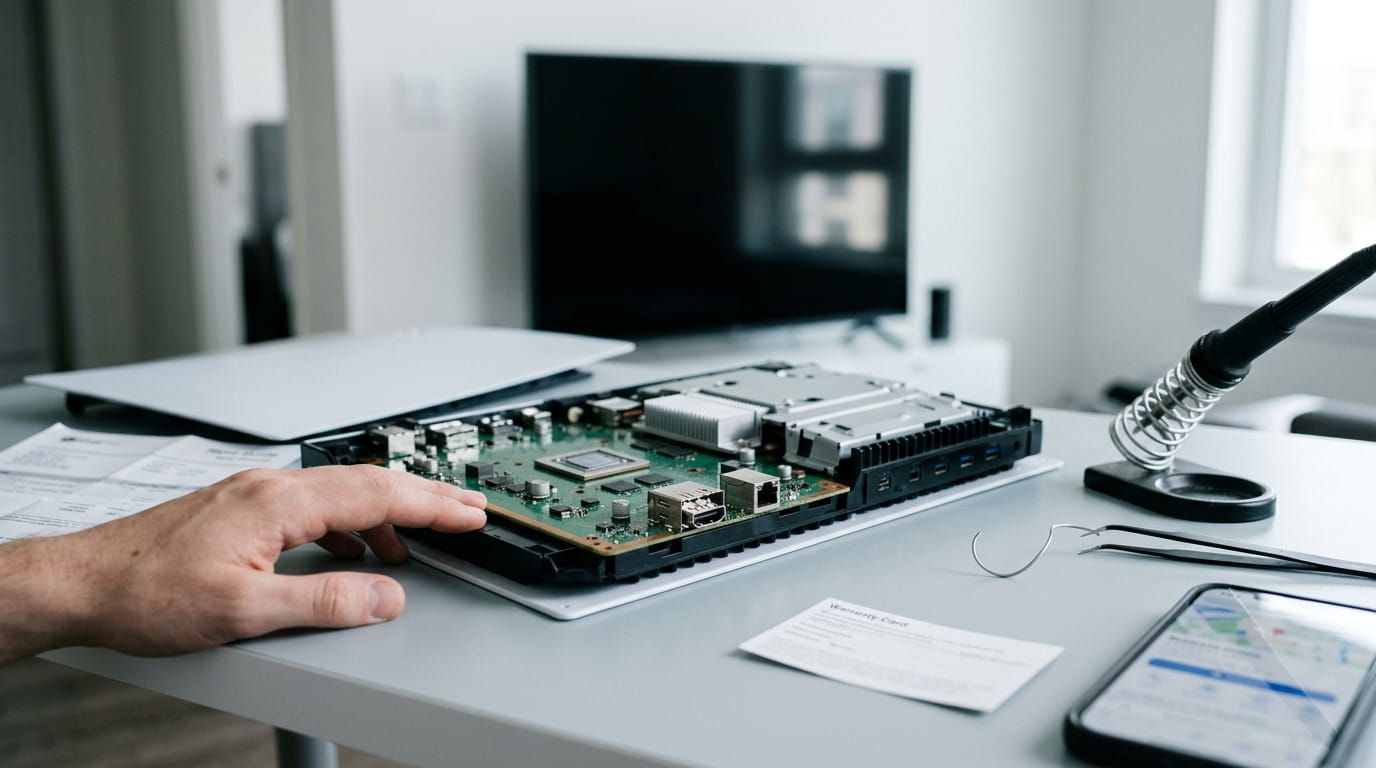
What can go wrong while soldering
Too much heat can melt the plastic around the port or damage a nearby diode, a small part that lets current flow one way. Replacing a capacitor (a part that stores charge) often comes up alongside the port, so ask whether it’s included in the quote.
Check each new joint for stray solder, then test before closing up. Go slow.
Helpful videos and community Q&A
A YouTube tutorial shows the disassembly and soldering before you pick up a tool. Community Q&A forums help when you’re stuck on one step, and the same approach applies to the PS5 Pro and the standard PS5.
What to Buy for the Repair
Getting the right part and a tidy bench makes this repair far less stressful. Here’s what to check, and what’s worth having on hand.
New port details and guarantee
Start with a new-condition HDMI (High-Definition Multimedia Interface) port. A used part can carry wear you can’t see, so the fresh one is the safer bet.
Before you order, check the compatible PS5 models list and make sure your console matches. Then look for part number IF460-026-1 on the listing. A port that fits matters more than one that’s just cheaper.
The port comes with a lifetime guarantee, and returns are open for 30 days. If it doesn’t line up with your board, that window gives you room to send it back. Consider a gamer whose picture flickers out whenever the cable gets bumped.
They check the models list, confirm IF460-026-1, and order before the weekend, so the repair starts on time instead of waiting on the wrong part. Right part, no wasted weekend.
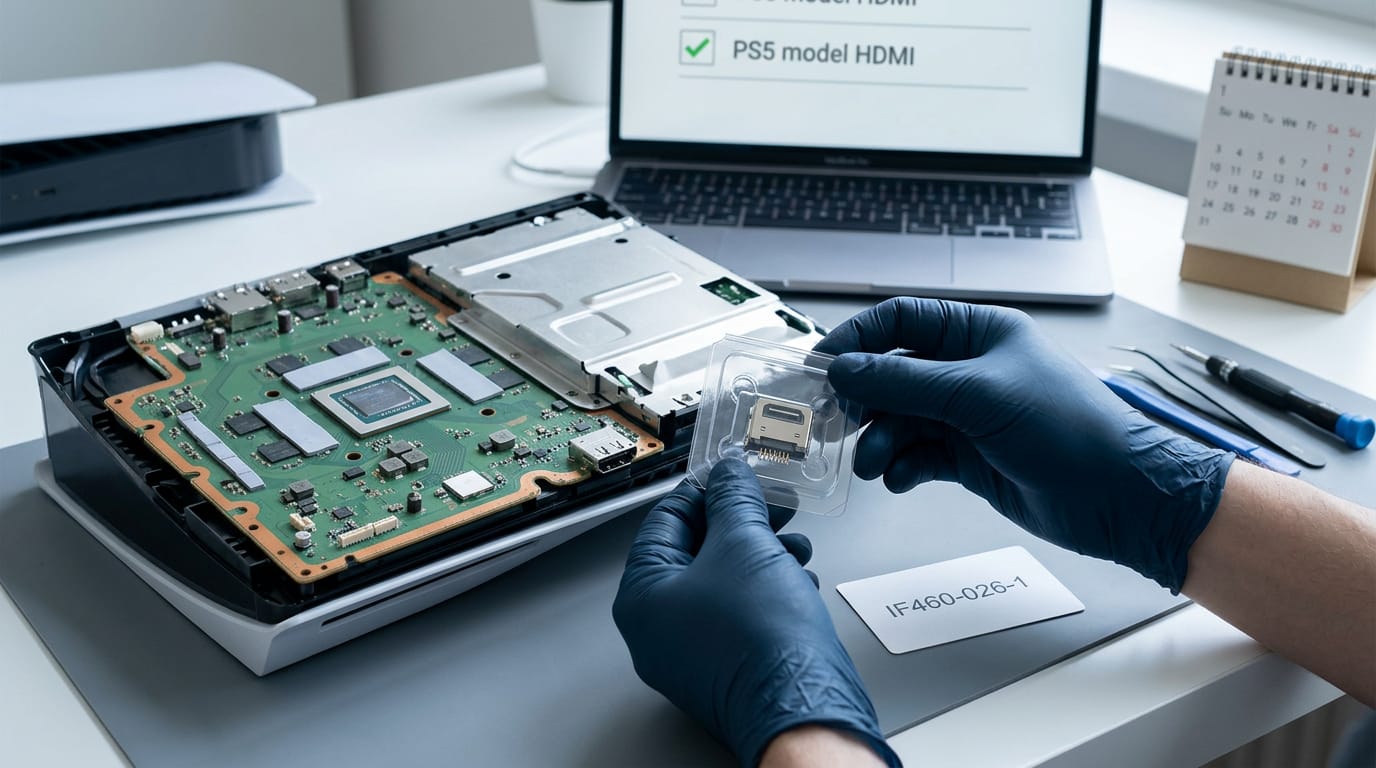
Tools worth having on your bench
You don’t need a full workshop, but a few tools make the job far less frustrating.
- Soldering toolkit. A soldering iron, solder, and flux cover the core job of re-soldering the port.
- Pro Tech and driver kits. Keep both nearby so the right bit is already in hand when you reach for it.
- Magnetic project mat. Tiny screws roll off benches fast, and this mat keeps them in one place.
- Electronics toolkit. A basic set of tweezers and small tools handles the fiddly, close-up work on the connector.
A flickering picture can trace back to one worn port, and now you’ve got a clear way to confirm it before spending a dollar. Check the fault first, then pick the repair path that fits your skills, your time, and your budget.
Whether you re-solder the port yourself or hand the job to a shop, the goal doesn’t change: a steady picture on the TV you already own.
Keep the Canadian-dollar costs and warranty terms in view as you decide, and get the port right so the only thing on your screen is the game.
Questions
How much does it cost to get your PS5 HDMI port replaced?
PS5 HDMI port replacement prices vary by repair shop, damage, and labor, so get a written quote in Canadian dollars before approving the work. DIY can avoid a shop’s labor fee, but requires board-level soldering skills and carries a risk of damaging the motherboard.
Why is my HDMI connected but says no signal?
A connected HDMI plug only shows that it is seated, not that it is sending a working signal. Try a known-good HDMI cable and a different TV input, then test the PS5 on another TV; a damaged or dirty port, cable, or TV input may be the cause.
Can the HDMI port on PS5 be fixed?
Yes. The PS5 HDMI port is soldered to the motherboard, so fixing or replacing it requires console disassembly and board-level soldering. Check Sony’s warranty terms before opening the console, or ask a repair shop for a written quote.
My PS5 isn't connecting to my TV. What can I do to fix this?
First, try a known-good HDMI cable and select a different TV input. Test the PS5 on another TV or a capture card to determine whether the original display is the problem, and try starting the console in Safe Mode to check for a software issue. If there is still no picture, inspect the port for bent, low, dirty, or corroded pins; port or motherboard repair may be needed.
Free · The Build Sheet
The Build Sheet: three gaming PCs priced at Canadian stores